


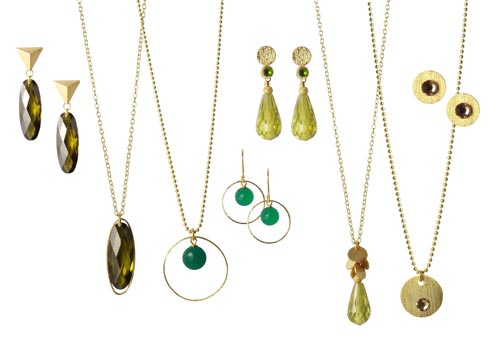
Are you looking for inspiration for beautiful jewellery this December? Then you’re in luck — there’s plenty of ideas waiting for you below.
This time, I’ve created a few elegant examples featuring matching jewellery pieces: necklaces and earrings made with exclusive stones and crystals. With just a handful of components, you can design your own festive set for Christmas parties or New Year’s Eve, perfectly matched to your outfit.
Both the crystals and beads come in a wide range of colours and sizes, and the jewellery can also be made in silver if you prefer.
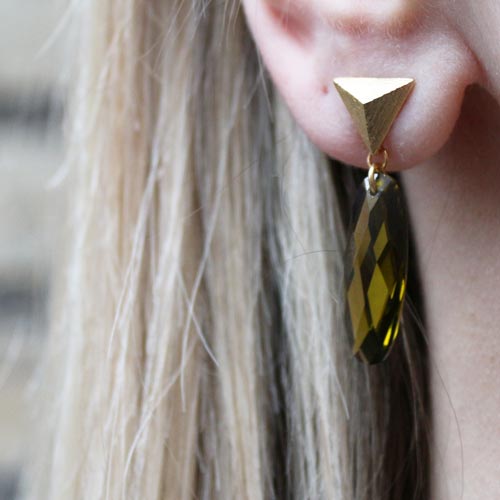
Earrings with oval zirconia
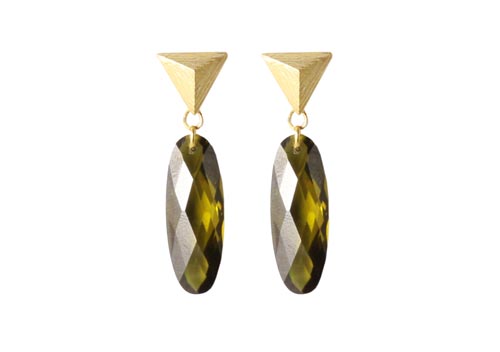
For these earrings, we used the following materials:
2 pcs. zirconia, oval, dark green
1 pair earstuds, brushed triangle stud and eye
2 pcs. jumpring, gilded sterling, 4mm
2 pcs. jumpring, gilded sterling, 3mm
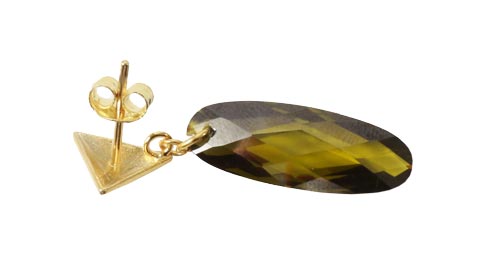
Begin by sliding the 4 mm jumpring through the zirconia. Take care while doing this, as zirconia can be fragile. Next, use the 3 mm jumpring to connect the eye of the earstud to the zirconia.
Necklace with oval zirconia
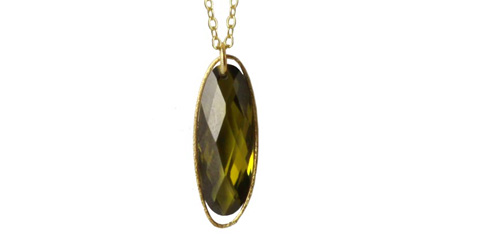
For this necklace, we used the following materials:
1 pc. zirconia, oval, dark green
1 pc. oblong, brushed gilded sterling
2 pcs. jumpring, gilded sterling, 4mm
ca. 60cm cable chain, open, gilded
+ adhesive
Begin by guiding the 4 mm jumpring through the zirconia, adding the oblong oval ring to the jumpring before closing it. Take care during this step, as zirconia can be fragile. I recommend adding a small amount of adhesive on each side of the zirconia so the oblong oval ring stays securely in place.
Next, thread the chain through the first jumpring, and close the chain with a 4 mm jumpring. I’ve chosen not to use a lobster clasp here, since the chain is long enough to slip on easily without a fastening mechanism.
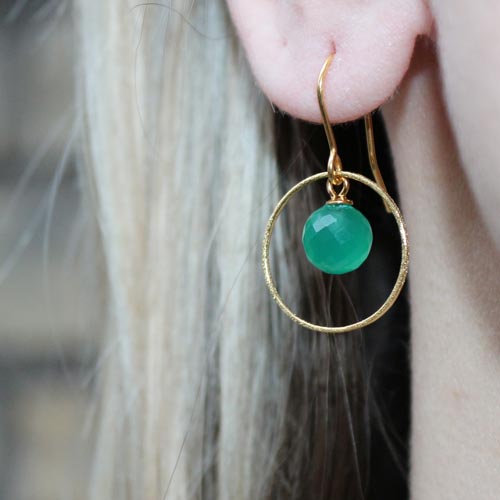
Earrings with half-drilled green agate
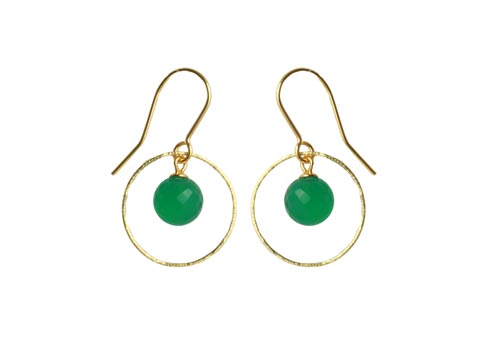
For these earrings, we used the following materials:
1 pair gilded earwires with loop
2 pc. gilded sterling rings, 18mm
2 pc. green agate, half-drilled
2 pc. bail, cup with peg, gilded sterling
+ adhesive
Start by applying a little adhesive to the bail, then place it into the half‑drilled agate. Check the length of the bail before gluing — you may need to trim it slightly if it’s too long.
Next, open the eye of the earwire, slip in the agate and the ring, and close it again. Your earrings are now finished.
Necklace with half-drilled green agate
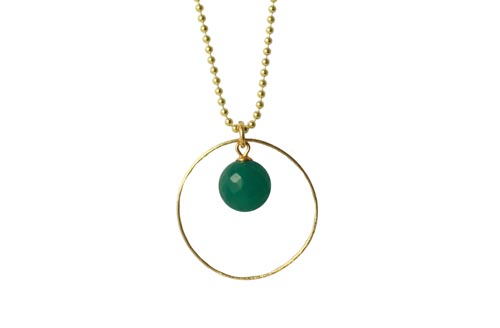
For this necklace, we used the following materials:
1 pc. green agate, half-drilled
1 pc. gilded sterling ring, 25mm
1 pc. bail, cup with peg, gilded sterling
1 pc. jumpring, gilded sterling, 5mm
ca. 60cm gilded ball chain
+ adhesive
The procedure is the same as for the earrings above. Glue the bail into the agate bead, then place the ring and the agate together in the jumpring. Finally, pull the chain through the jumpring, and your necklace is complete.
Earrings with zirconia teardrop
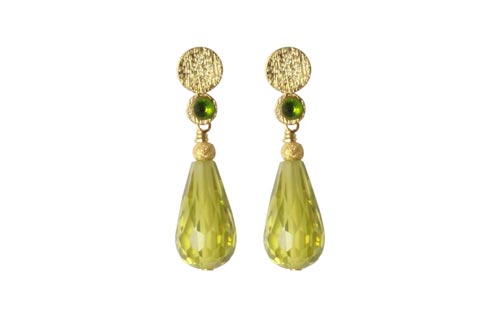
For these earrings, we used the following materials:
1 pair gilded sterling earstuds
2 pcs. hotfix glass rhinestone, 2,7mm
2 pcs. zirconia, teardrop, light green
2 pcs. gilded sterling headpin
2 pcs. gilded sterling stardust bead, 3mm
+ adhesive
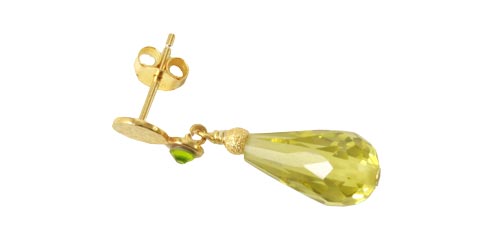
Begin by gluing the crystal onto the earstud. Then thread the headpin through the teardrop, add the stardust bead, and form an eye. If you need a reminder on how to make an eye, you can follow Smyks’ guide.
To assemble the pieces, gently open the eye, slip the components together, and close it again. Take care during this step, as the eye can break if twisted too hard.
Necklace with green zirconia teardrop
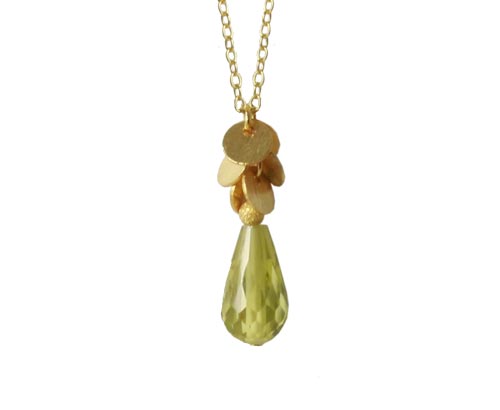
For this necklace, we used the following materials:
1 pc. zirconia, teardrop, light green
1 pc. gilded sterling stardust bead, 3mm
1 pc. gilded sterling headpin
6 pcs. gilded coin, brushed
3 pcs. jumpring, gilded sterling, 4mm
1 pc. jumpring, gilded sterling, 3mm
ca. 60cm cable chain, gilded (doublé)
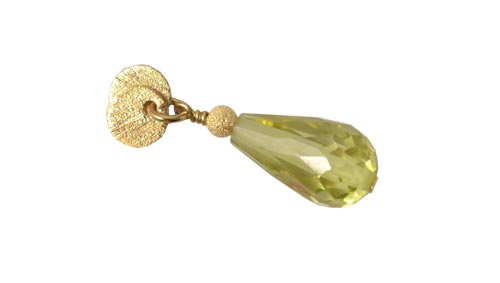
Step one: thread your headpin through the teardrop and the stardust bead, then form an eye. If you need a reminder on how to make an eye, you can follow Smyks’ guide.
Next, open the 4 mm jumpring, add a coin, then the teardrop, and finally another coin. Close the jumpring securely, and your component is ready.
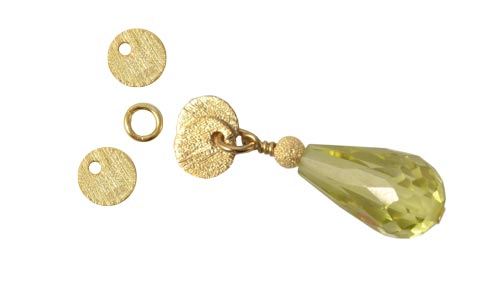
Step two: For the next row of coins, open another jumpring and add a coin. Before placing the second coin, guide this jumpring through the jumpring from step one (the space between the two coins). Now add the next coin and close the jumpring securely. The coins will now sit in layers.
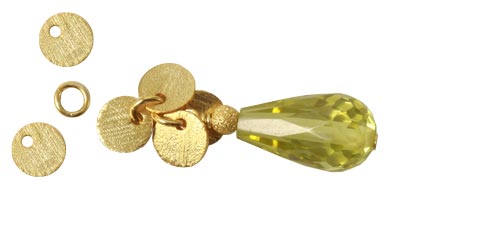
Optional step: Repeat the process from step two until you’re happy with the number of layers.
Finally, thread the chain through the last jumpring and close it at the neck with a 3 mm jumpring. Remember that the chain needs to be at least 50 cm long for the necklace to slip over the head. If you prefer a shorter chain, you’ll need to add a lobster clasp or another suitable fastening mechanism.
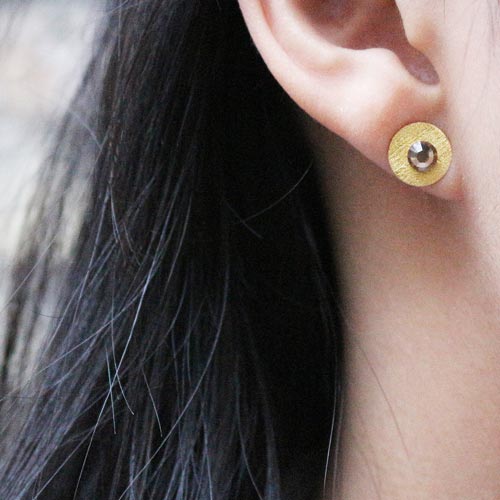
Earstuds with gilded coins and crystals
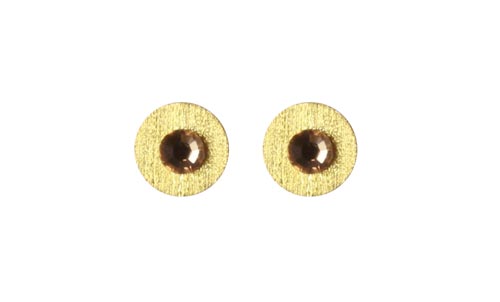
For these earstuds, you will need the following materials:
1 pair earstuds, brushed coins and eye
2 pcs. gilded sterling coin, rustique
2 pcs. hotfix Bwarovski crystal, beige, faceted
+ adhesive
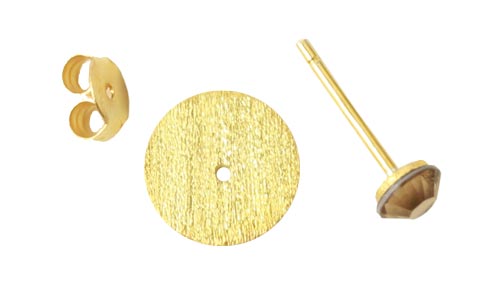
Glue the crystal to the earstud, pass the earstud through the hole in the coin - and you are done.
Necklace with coin and crystal
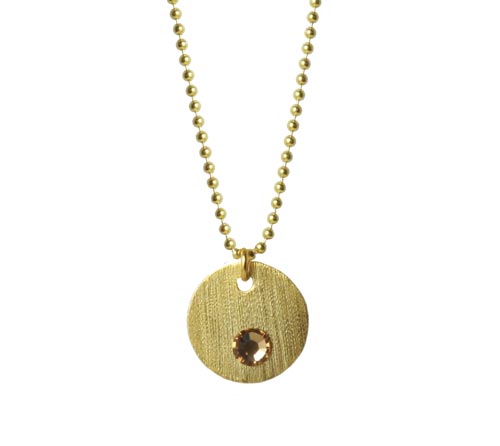
For this necklace, we used the following materials:
1 pc. gilded sterling coin, brushed
1 pc. hotfix swarovski crystal, beige facet
1 pc. jumpring, gilded sterling, 5mm
ca. 60cm ball chain, gilded sterling with ball chain connector
+ adhesive
Begin by gluing the crystal onto the coin as shown. Next, place a jumpring through the coin, close it securely, and thread the chain through the eye.
Enjoy your new jewellery!
If you have any questions, comments or suggestions, feel free to write in the comment field below.
We will publicly show your name and comment on this website. Your email is to ensure that the author of this post can get back to you. We promise to keep your data safe and secure.