


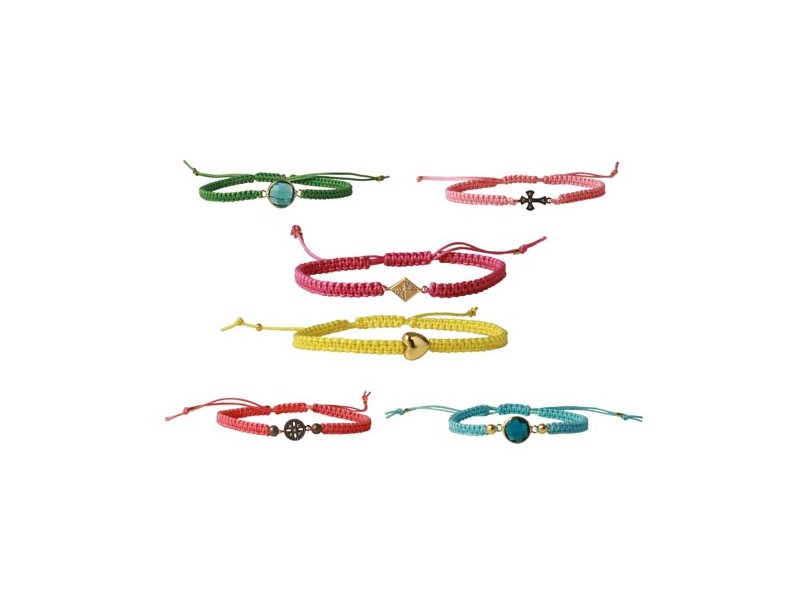
Beautiful DIY macramé bracelets
In this blog post, we show a range of beautiful, feminine bracelets made using the well‑known macramé knotting technique. These bracelets, which you can easily make yourself, are created with thin, strong polyester cord available in many lovely colours and thicknesses. We have previously covered the knotting technique in our blog post here: Classical macramé braiding tutorial
At Smyks.com, we always carry a wide selection of jewellery spacers and links in both glass and sterling silver, and below you can see some examples of how they can be used as decorative elements in your macramé bracelets.
Braided bracelet with gold-plated silver link
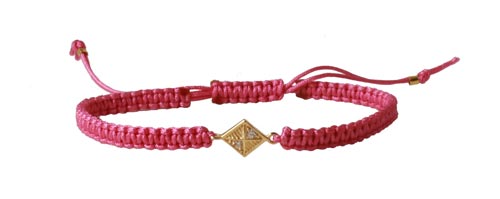
For this bracelet, you need the following materials:
2,6m nylon cord, dark rose, 0,9mm
1 pc. link with cubic zirconia, diamond-shaped
2 pcs. crimp/bead, rounded, gilded,
+ lighter
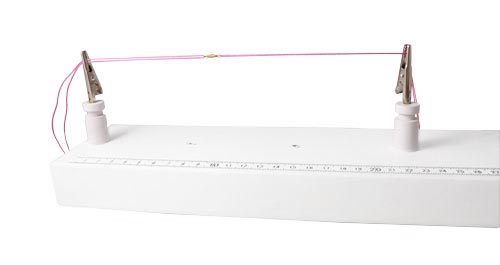
In this tutorial I have used this beading loom, but you can also braid your cords in another fashion if you want.
In this tutorial, I’ve used this beading loom, but you can braid your cords in a different way if you prefer. The beading loom comes with a detailed user manual to help you get started.
Begin by taking a 40 cm cord and threading it through one of the connector’s eyes. Then take another 40 cm cord and thread it through the connector’s other eye. You should now have your cords arranged as shown in the image below.
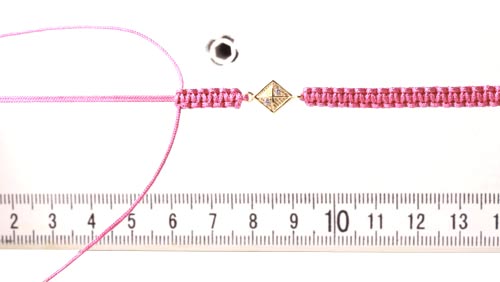
After completing the first step, take an 80 cm cord and begin braiding. Start at the connector and work outwards. When one side is finished, repeat the process on the other side, braiding another 80 cm cord from the connector and outwards until you reach the desired length. Remember to leave at least 20 cm for the final step, where you braid the bracelet’s “lock”. In the examples shown, the bracelet measures 16.5 cm (a 15 cm bracelet plus a 1.5 cm lock).
You can find Smyks’ guide to braiding here.
As the cord is nylon, the ends can be melted with a lighter. Once both sides of the bracelet are finished, you can make the lock. As a decorative detail at the ends, I’ve added a crimp bead and tied a knot.
Braided bracelet with black sterling silver cross
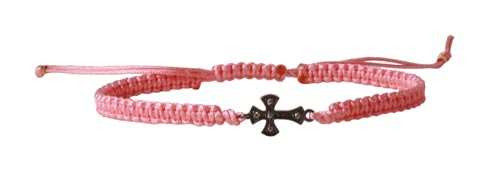
For this bracelet, you need the following materials:
2, 6m polyester cord, light salmon, 0,9mm
1 pc. connector with cubic zirconia, cross, black sterling silver
2 pcs. crimp/bead, rounded, gilded,
+ lighter
Braided bracelet with black sterling silver coin
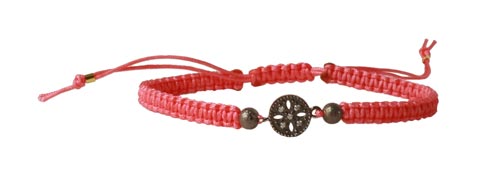
For this bracelet, you will need the following materials:
2,6m nylon cord, slamon, 0,9mm
1 pc. round connector with cubic zirconia, black sterling silver
2 pcs. stardust bead, black brass, 4mm
2 pcs. crimp/bead, rounded, gilded,
+ lighter
Braided bracelet with glass charm
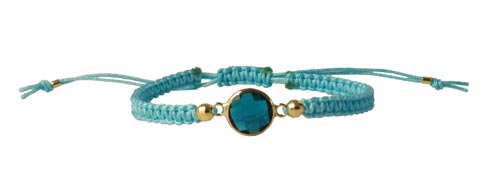
For this bracelet, you need the following materials:
2,6m nylon cord, light turquoise, 0,9mm
1 pc. glass charm, gilded, london blue, 16x11mm
2 pcs. gilded silver faceted bead/disco ball, 4mm
2 pcs. crimp/bead, rounded, gilded
+ lighter
Braided green bracelet with glass charm
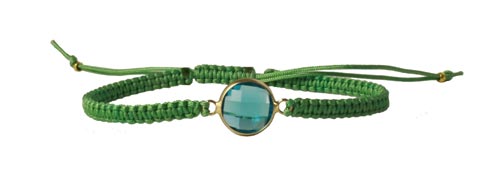
For this bracelet, you will need the following materials:
2,6m polyester cord, light green, 0,9mm
1 pc. glass charm, gilded, turquoise blue, 16x11mm
2 pcs. crimp/bead, rounded, gilded
+ lighter
Braided bracelet with gilded silver heart
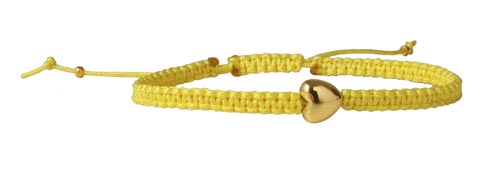
For this bracelet, you need the following materials:
2,6m nylon cord, yellow, 0,9mm
1 pc. gilded silver heart, 7x7mm
2 pcs. crimp/bead, rounded, gilded
+ lighter
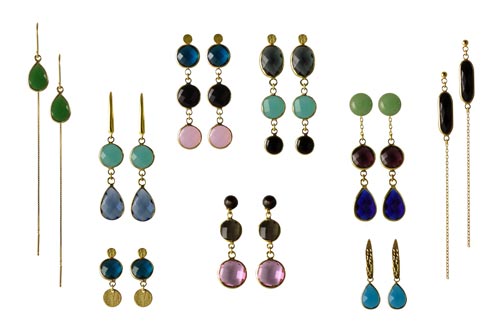
For more ideas and inspiration on how to use these beautiful glass charms, please visit our blog post DIY Earrings with Glass Charms.
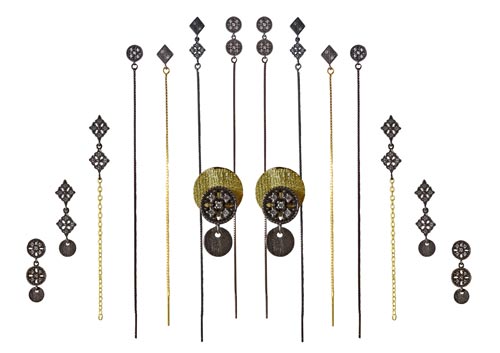
For more ideas and inspiration on how to use the oxidised sterling silver connectors, visit our blog post DIY Earrings with Zirconia.
Enjoy your new jewellery collection!
For questions, comments or suggestions, please use the comment field below.
We will publicly show your name and comment on this website. Your email is to ensure that the author of this post can get back to you. We promise to keep your data safe and secure.