|

Welcome to Smyks' classic macramé knotting guide.
All materials and jewellery components shown in the guide are available in the webshop as well as in our shop in Copenhagen, Denmark
|
|
|
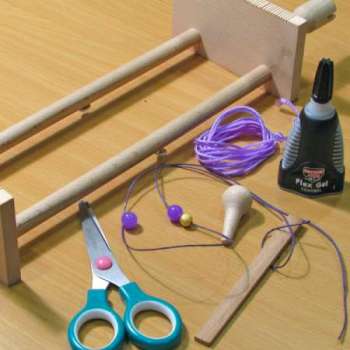
Materials used:
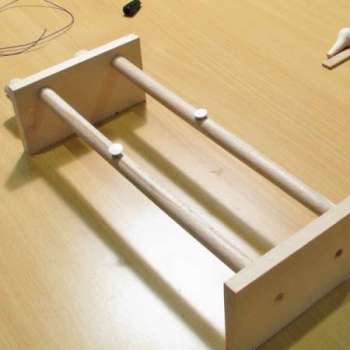
Beading loom
2m macramé cord 1.5-2mm
1m filler cord, wax cord 1.2mm
Assorted beads 6 - 8 mm
Super glue
Scissors
Ruler
Tape measure
|
|
|
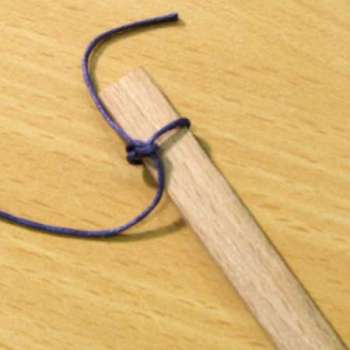
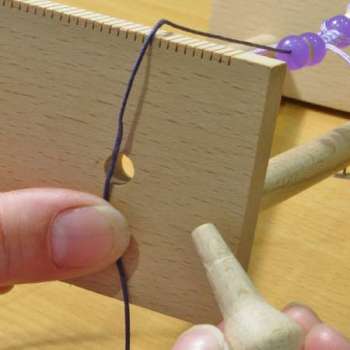
1
Tie one end to the transverse pin that comes with the loom. Put the stick back onto the loom in the joints of the two screws at the end of the loom.
|
|
|
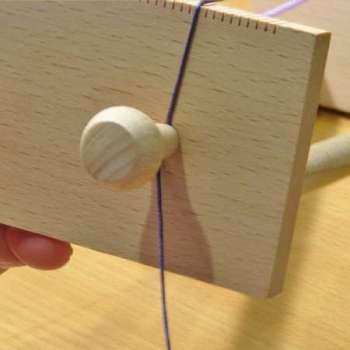
2
Now stretch the filler cord down over loom past the end where the holes are and about 10 cm further than where the holes are. Then cut the cord.
String the beads on the filler cord in the order you want them to be on the bracelet. If your cord is polyester, melt the end of the cord carefully over a candle / lighter, so it becomes easier to string the beads.
|
|
|
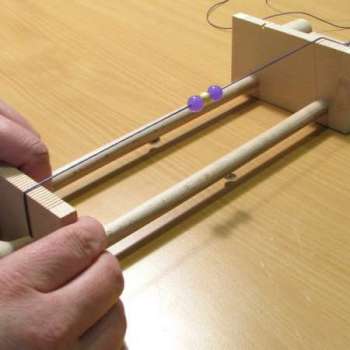
3
Then stretch the cord over the end of the loom and insert the wedge that comes with the loom.
|
|
|
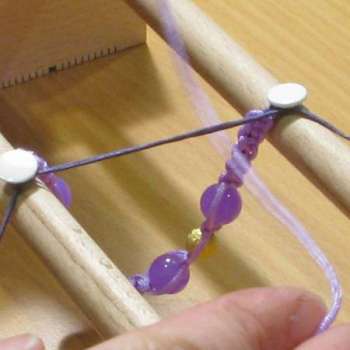
4
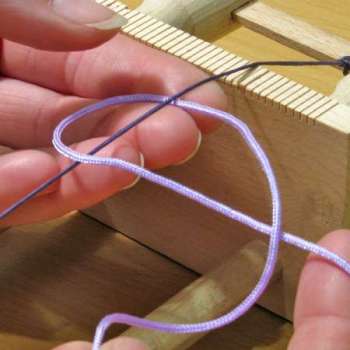
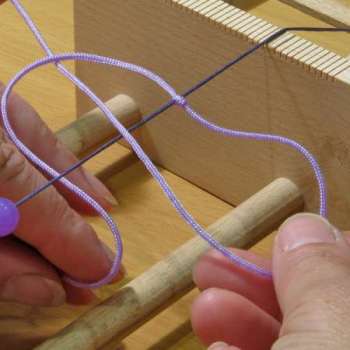
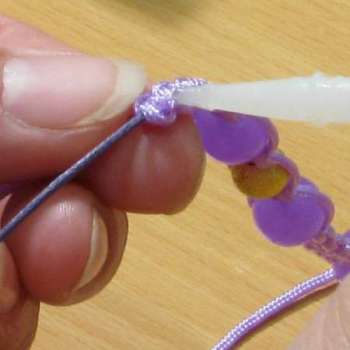
Take the macramé cord (the working cord), fold it in the middle and place it under the filler cord.
Take the cord from your left hand side and place it OVER the filler cord, so it forms is a curve on the left hand side of the filler cord.
|
|
|
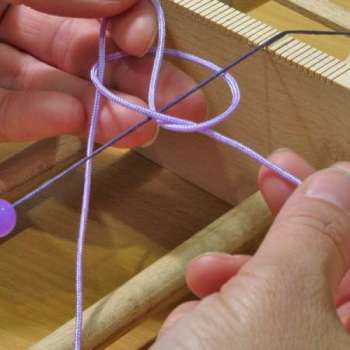
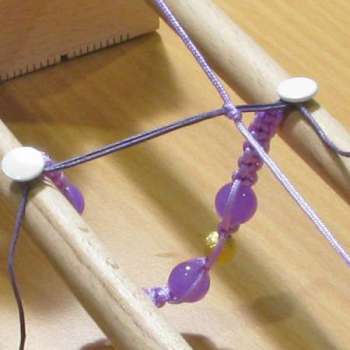
5
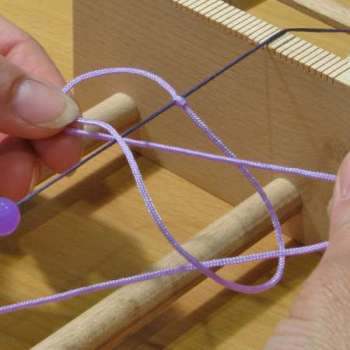
Now you take the cord from the right side and place it over the left one, which is now on the right side. Pull the cord UNDER the filler cord and up through the curve on the left. Tighten the knot.
|
|
|
6
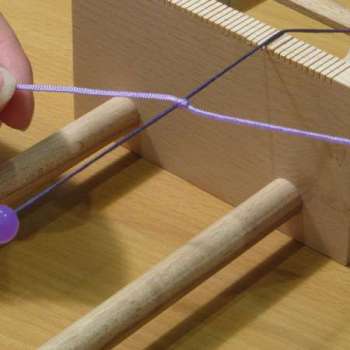
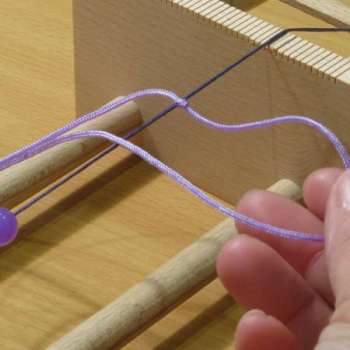
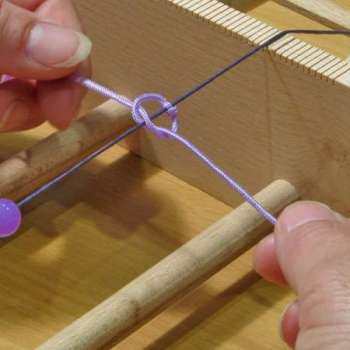
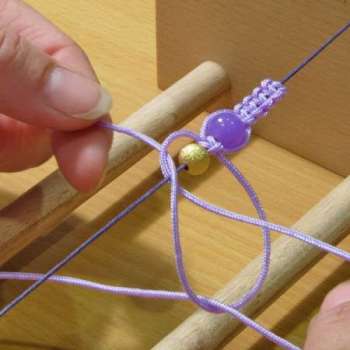
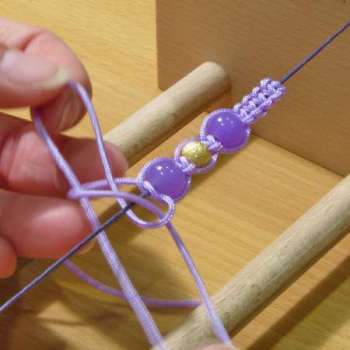
Continue like that, alternating between the left and the right side.
|
|
|
7
|
|
|
8
|
|
|
9
|
|
|
10
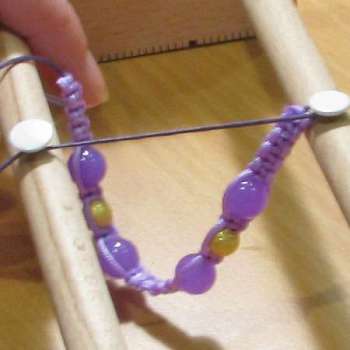
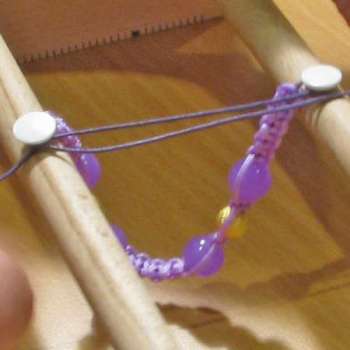
Measure you wrist (for example with with a cord or a ruler) and minus ½cm from your measurement. That's how long your work should be on the loom (if the circumference of your wrist is 16cm, you should knot 15½ cm)
|
|
|
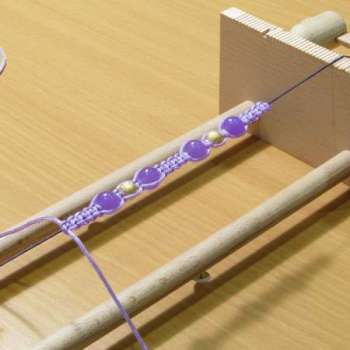
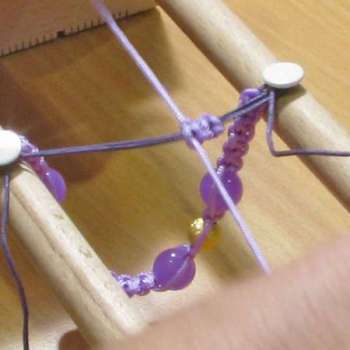
11
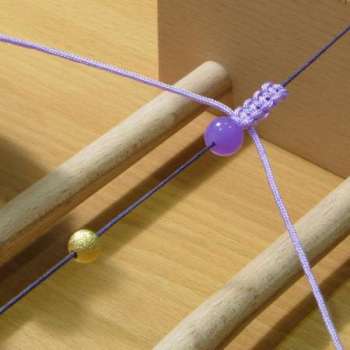
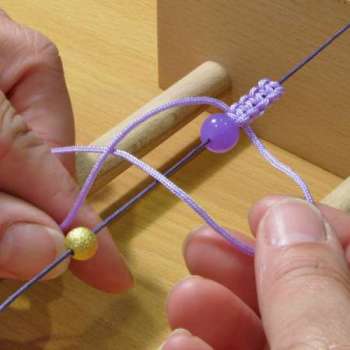
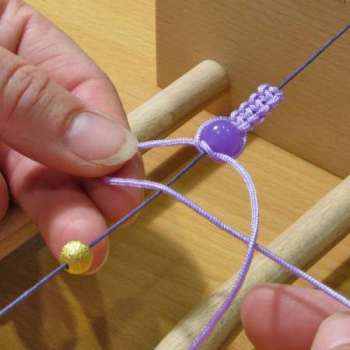
When you string a bead, you push it up to the knotted part and continue knotting as before.
|
|
|
12
|
|
|
13
|

|
|
14
|
|
|
15
|
|
|
16
|
|
|
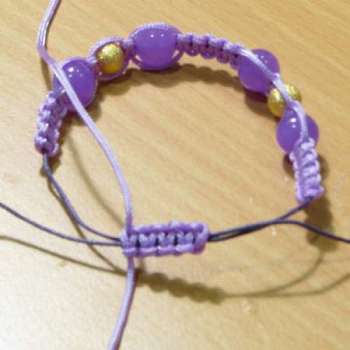
17
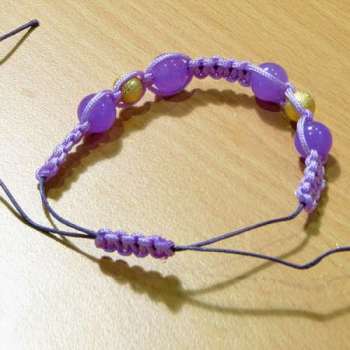
When your bracelet is as long as it should be, you take it off the loom.
|
|
|
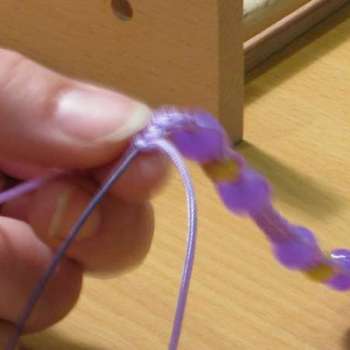
18
Tighten the two working cords well.
|
|
|
19
|
|
|
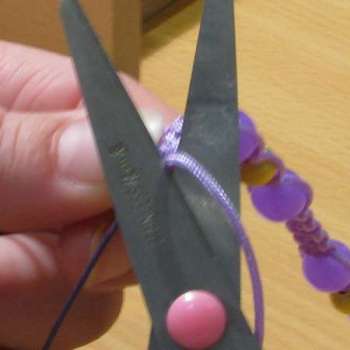
20
Cut the working cords off with sharp scissors or pliers close to the bracelet.
|
|
|
21
After that, you apply a bit of glue where you cut off the cord. We recommend Loctite glue for this purpose.
|
|
|
22
Turn the beading loom.
|
|
|
23
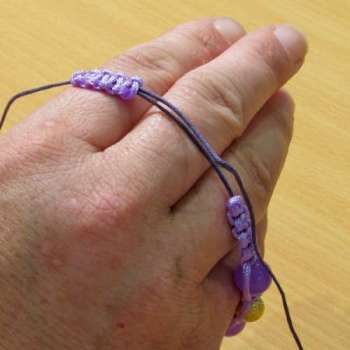
Place your bracelet in between the two pins.
|

|
|
24
Take one of the cord ends, pull it around one pin and than around the other pin. Do the same with the other cord end - only into the opposite direction.
|
|
|
25
|
|
|
26
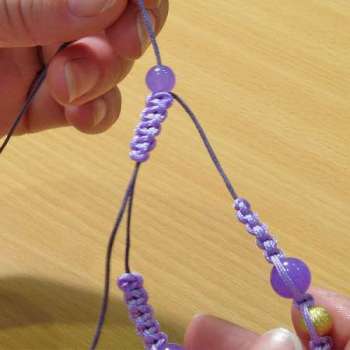
Take a piece of the cut off cord, find the middle, place it under the two cord ends and start knotting a piece of 2cm for the closure.
|
|
|
27
|
|
|
28
|
|
|
29
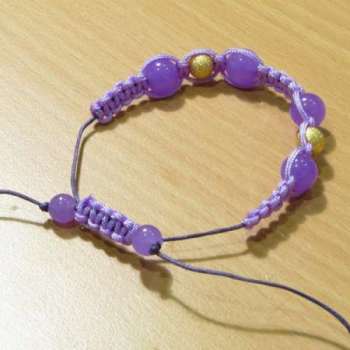
When the closure is done, cut the cords off with sharp scissors or pliers (see step 20)
|
|
|
30
|
|
|
31
Tighten the cords in a way that you can put on the bracelet.
|
|
|
32
Take a bead and string it on a cord, pull it close to the closure and tie a knot. Do the same on the other cord end.
|
|
|
33
|
|
|
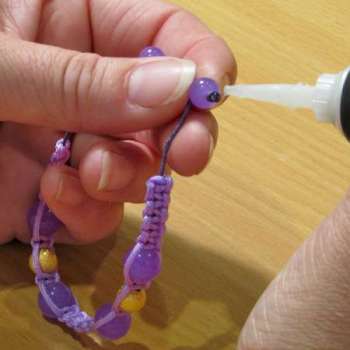
34
Cut off the excess cord and apply a bit of glue on the cord ends.
|
|
|
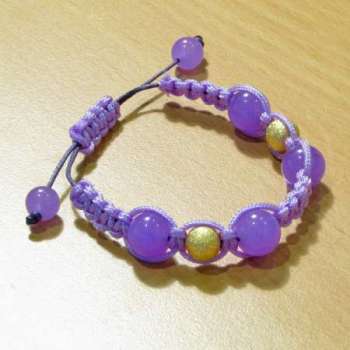
35
Voilà..... congratulations on your beautiful new bracelet!
|
|


