


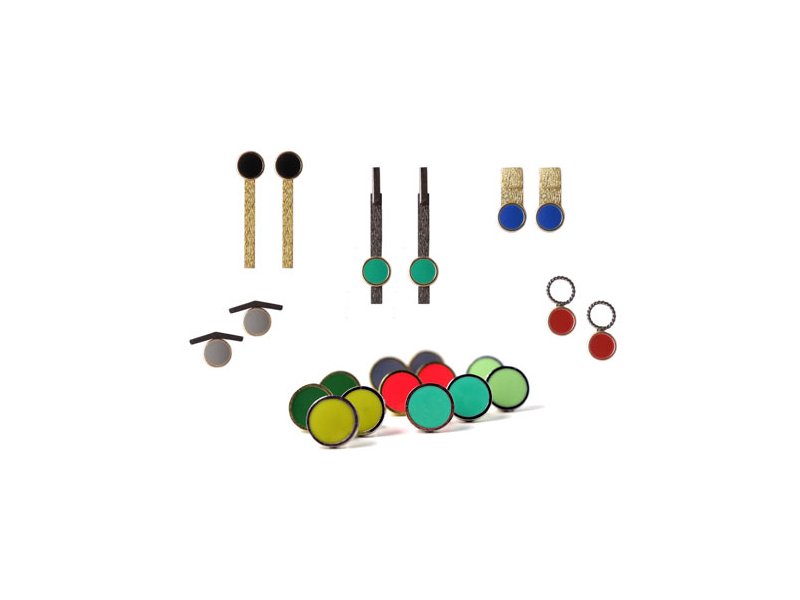
With Smyks’ colourful enamel coins with gilded edge you can easily assemble simple but striking earrings with bars or rings made of oxidised or gold-plated sterling silver. Here we show you some examples. You don’t need tools to recreate these earring designs, the only thing you need is jewellery glue.
Our enamelled coins are available in three sizes with gilded or silver-plated edge. They are not only a wonderful decoration for earstuds and earrings but also for rings and necklace pendants.
Have a look into our earlier blog post on jewellery with enamelled coins:
DIY Jewellery with colourful enamel coins
Earrings with gilded rectangles
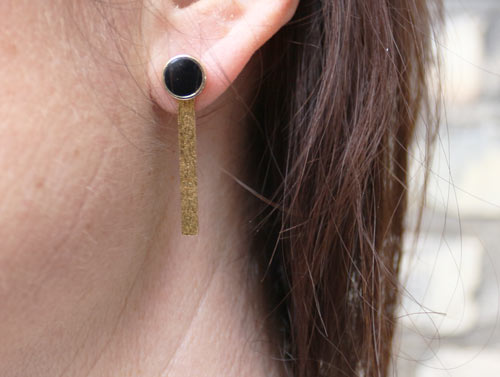
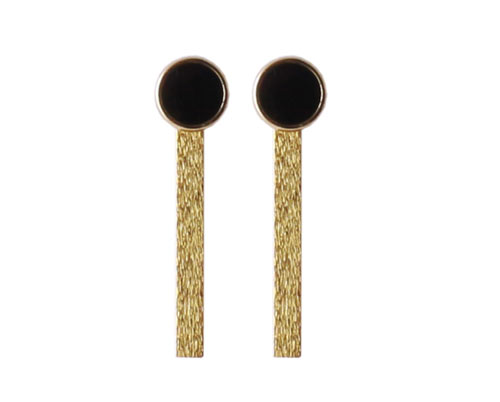
We used the following materials to assemble these earrings:
- 1 pair of earstuds with pad, 4mm, gilded sterling silver
- 2 long rectangles, brushed, gilded sterling silver
- 2 black enamel coins with gilded edge, 8mm
- jewellery glue
- file
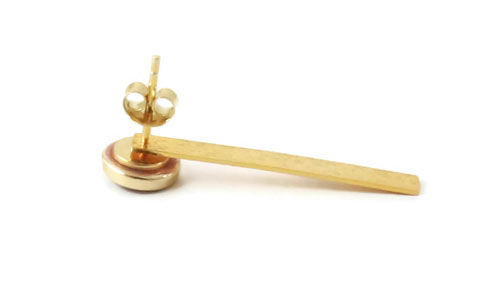
Glue the enamel coin onto the earstud. Before you do that, you might like to roughen the back of the coin with a file in order to make the glue stick better.
Then you insert the earstud into the hole in the rectangle. Alternatively, you can place the rectangle behind the ear lobe.
Earrings with oxidised bar
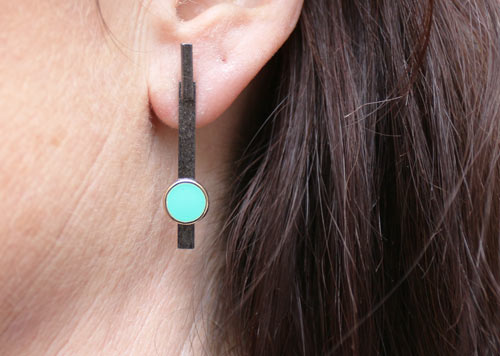
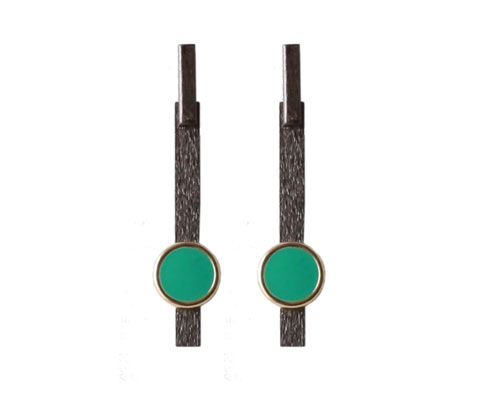
We used the following materials to assemble these earrings:
- 1 pair of earstuds with bar, oxidised sterling silver, (Item is discontinued)
- 2 long rectangles, brushed, oxidised sterling silver
- 2 blue- enamel coins with gilded edge, 8mm
- jewellery glue
- file
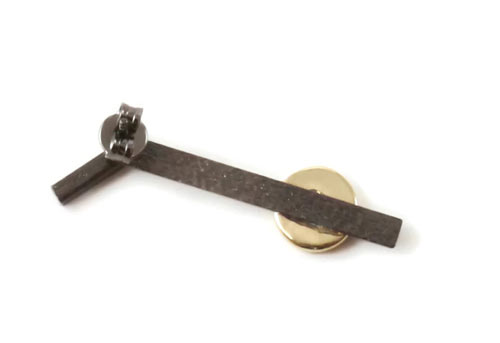
Glue the enamel coin onto the rectangle. Before you do that, you might like to roughen the back of the coin with a file in order to make the glue stick better.
Then you insert the earstud into the hole in the rectangle. Alternatively, you can place the rectangle behind the ear lobe.
Earring with gilded rectangles
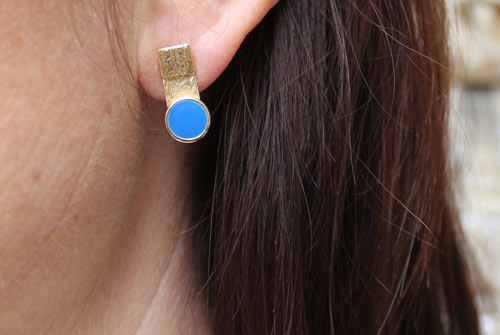
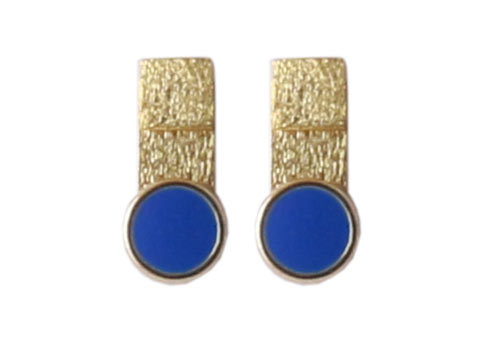
We used the following materials to assemble these earrings:
- 1 pair of earstuds with brushed square, 5x5mm, gilded sterling silver
- 2 brushed rectangles, gilded sterling silver
- 2 blue enamel coins with gilded edge, 8mm
- jewellery glue
- file
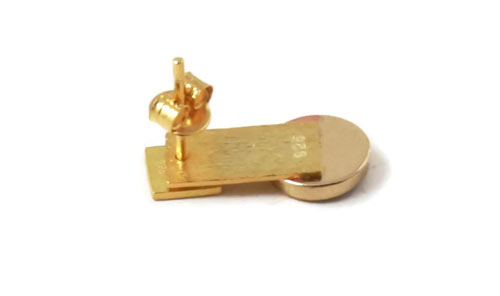
Glue the enamel coin onto the lower edge of the rectangle, hiding the edge in this way. Before you do that, you might like to roughen the back of the coin with a file in order to make the glue stick better.
Then you insert the earstud into the hole in the rectangle.
Earrings with twisted ring
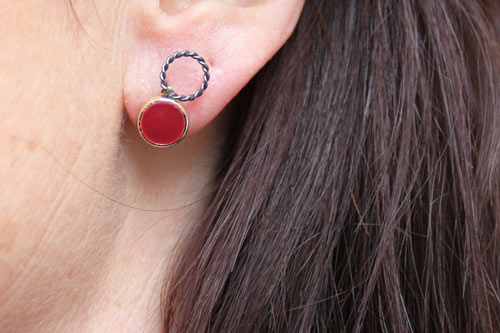
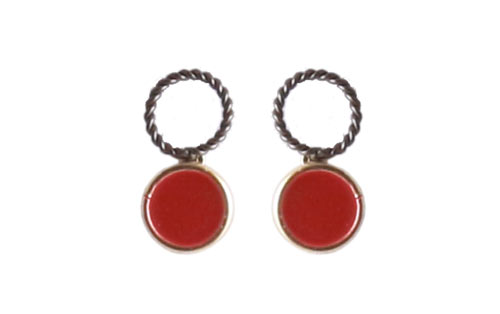
We used the following materials to assemble these earrings:
- 1 pair of earstuds with twisted ring, 8mm, oxidised sterling silver
- 2 pads with eyelet, 8mm, gilded brass
- 2 dark red enamel coins with gilded edge, 8mm
- jewellery glue
- file
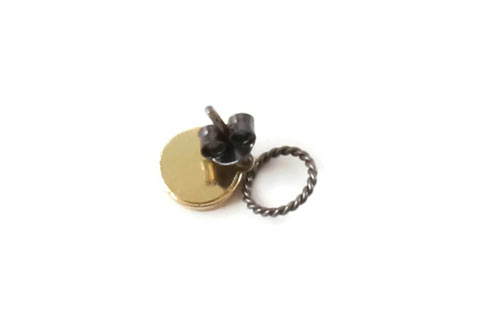
Glue the enamel coin onto the pad and insert the earstud into the eyelet. Before you start gluing you can roughen the pad a bit with a file in order to make the glue stick better.
Earrings with bent bar
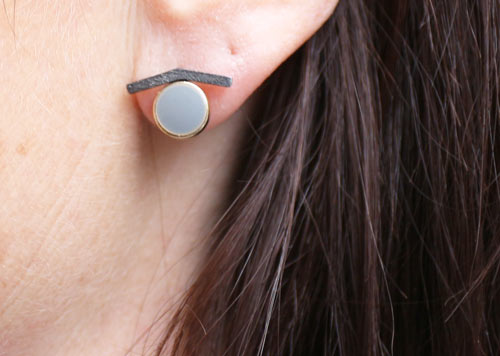
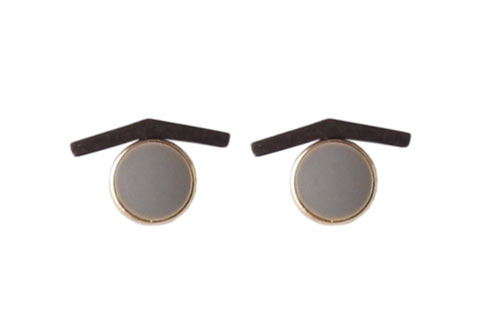
We used the following materials to assemble these earrings:
- 1 pair of earstuds with bent bar, oxidised sterling silver
- 2 pads with eyelet, 8mm, gilded brass
- 2 grey enamel coins with silvered edge, 12mm
- jewellery glue
- file
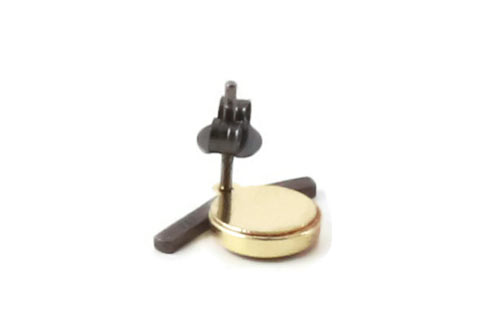
Glue the enamel coin onto the pad and insert the earstud into the eyelet. Before you start gluing you can roughen the pad a bit with a file in order to make the glue stick better.
Have fun making your own earrings!
Have you got any questions, suggestions or comments? Please write to us in the commentary field below. Thank you!
We will publicly show your name and comment on this website. Your email is to ensure that the author of this post can get back to you. We promise to keep your data safe and secure.