


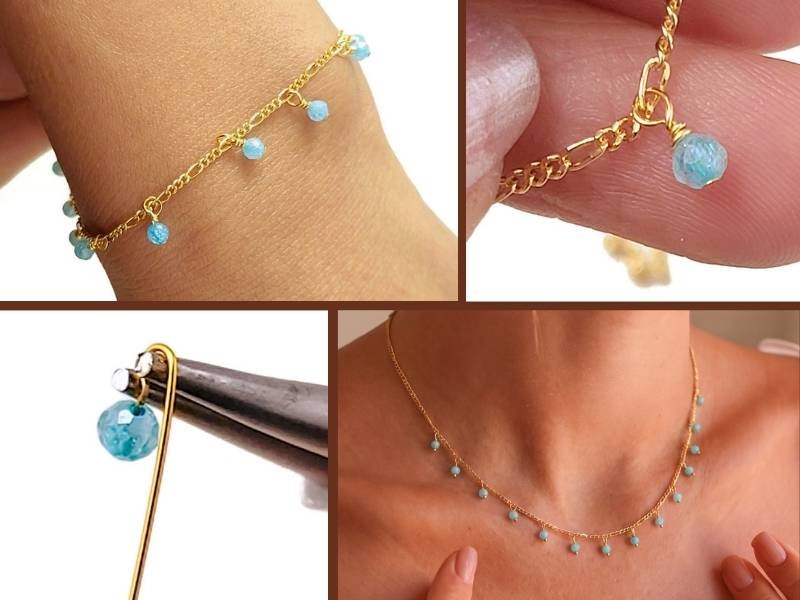
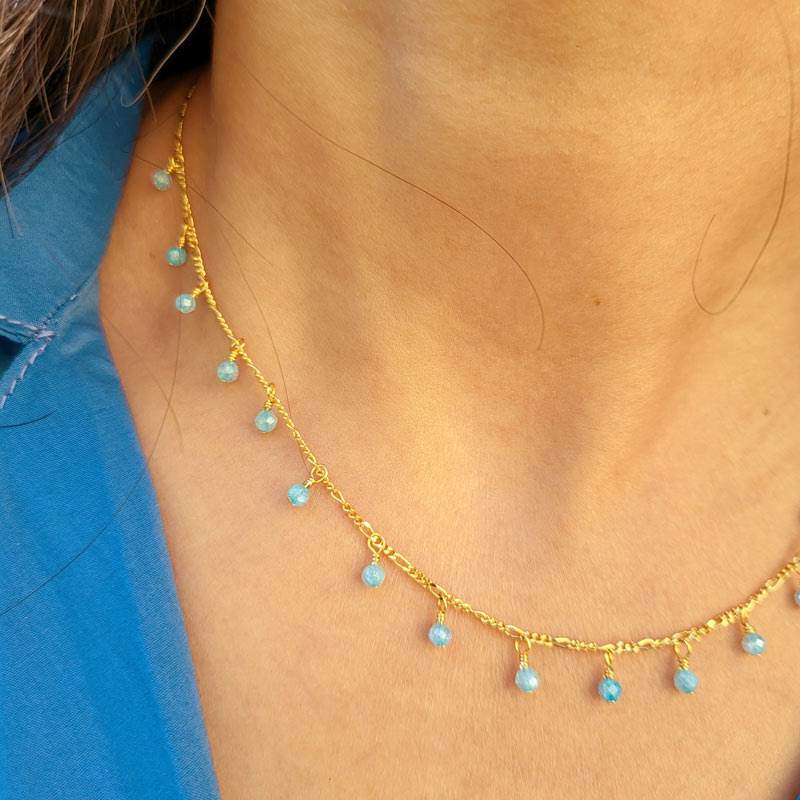
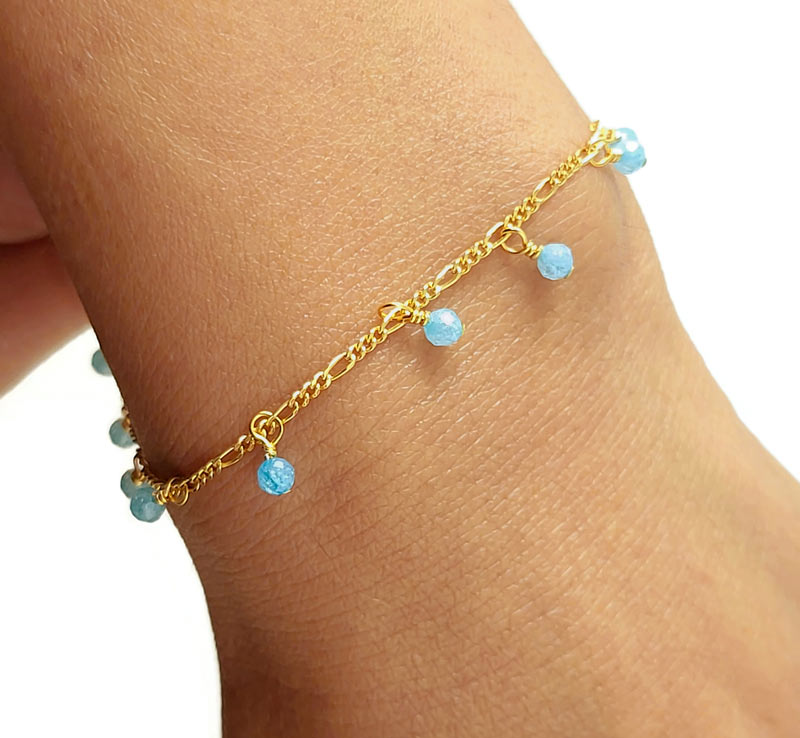
In this blog post, we’ll show you how you can easily decorate a necklace, bracelet or earrings with small, pretty beaded charms. You can use a necklace you already own, or buy a brand new one from our range. You can substitute the beads used in the example with beads in the colours and shapes you like best. The method is always the same, but please note that the links in your chosen necklace must be large enough for the bead charms to fit through.
It’s a good idea to buy a bead tray with grooves, as shown in the picture, as this gives you a better overview of your beads and makes it easier to arrange them evenly and symmetrically.
You will need the following jewellery pliers:
Side-cutting pliers, 11x6.5cm (product no.: 31105F )
Round-nose pliers, 12x9cm (product no.: 31105Cb)
Chain-nose pliers,11x6.5cm (product no.: 31105E)
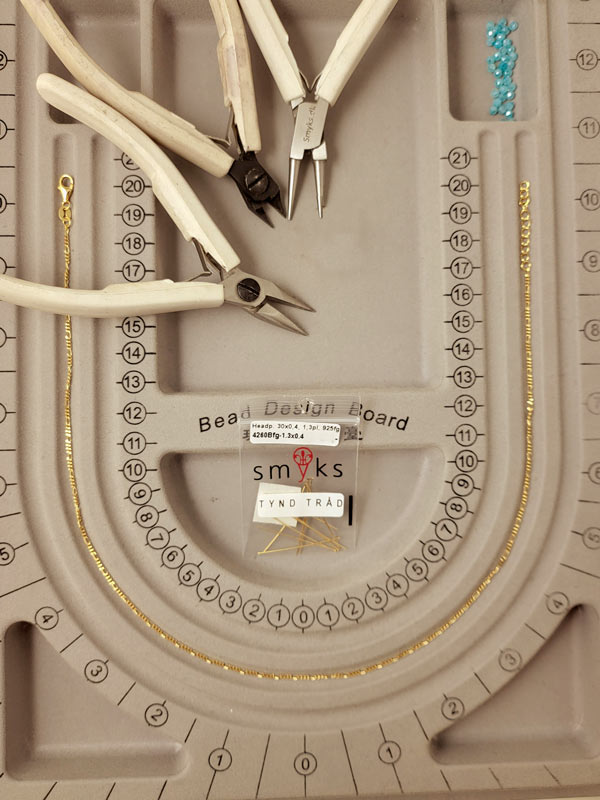
For this necklace, we use the following DIY materials:
17 short headpins with 1.3mm plate, thin wire, gold-plated silver, 30x0.4mm (product no.: 4260Bfg-1.3x0.4mm),
Necklace with clasp: faceted Figaro curb chain, gilded silver, wire 0.4mm, adjustable length 41-44cm (product no.: 3558fgneckl-0.4mm),
17 beads: Cubic Zirconia, light blue, faceted, round, 3mm (product no.: 14102E-3mm)
and to store and arrange the beads: Bead tray in grey plastic with velour surface, with centimetre and inch markings (product no.: 31133B)
+ jewellery pliers

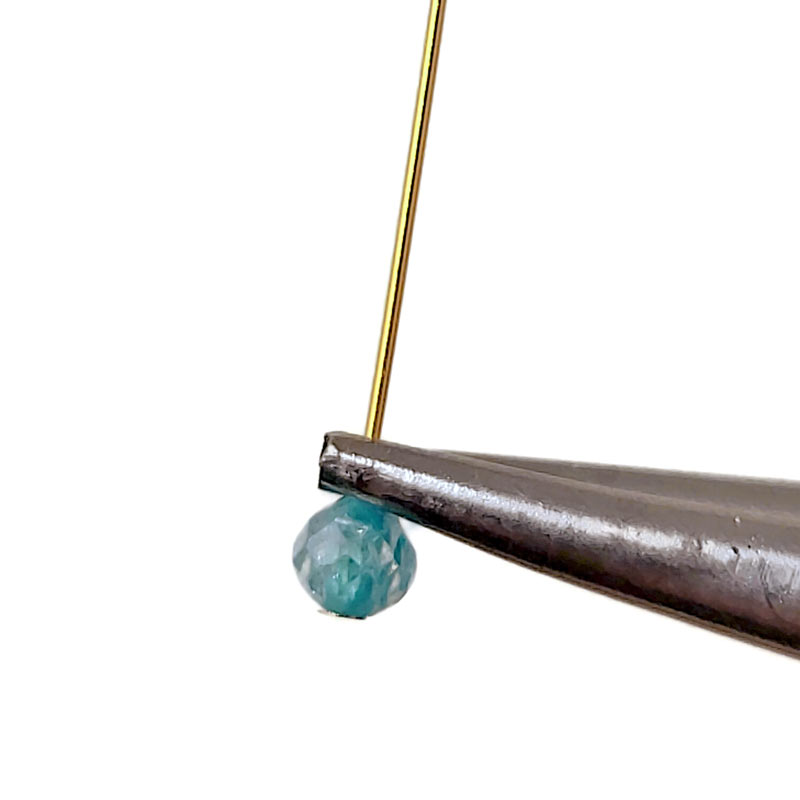 Thread the headpin through the bead and grasp the wire just above the bead using the round-nose pliers. Make sure the pliers are positioned close to the bead, but 1 mm above it.
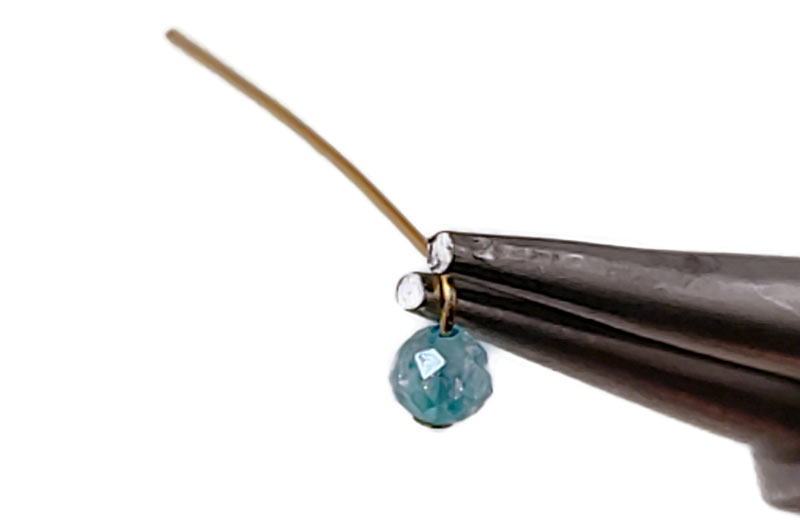
Bend the headpin at a 90-degree angle.
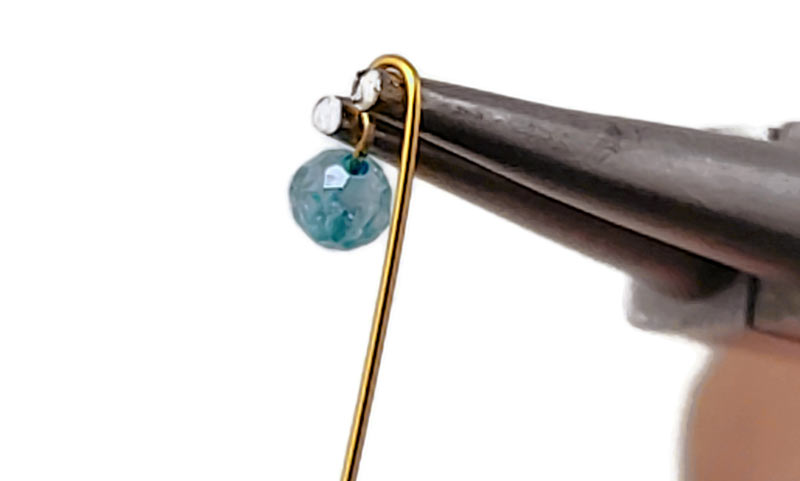
Now bend the headpin back around the upper jaw of the pliers to form a loop.
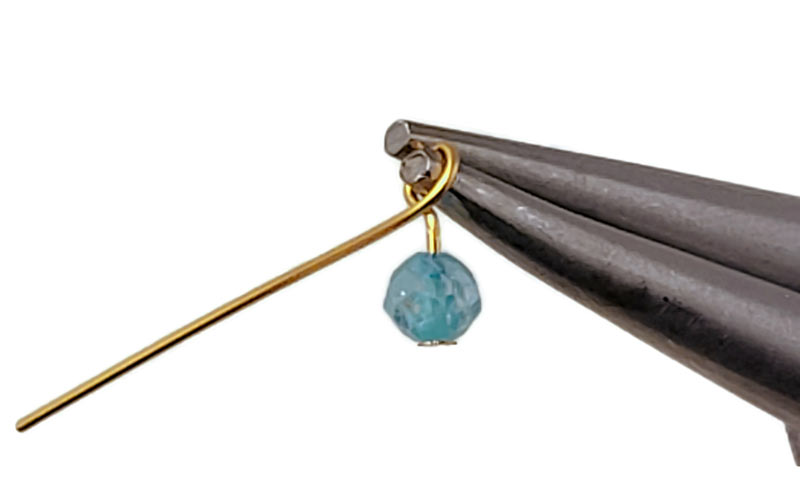
Bend the wire all the way round to finish the eyelet.
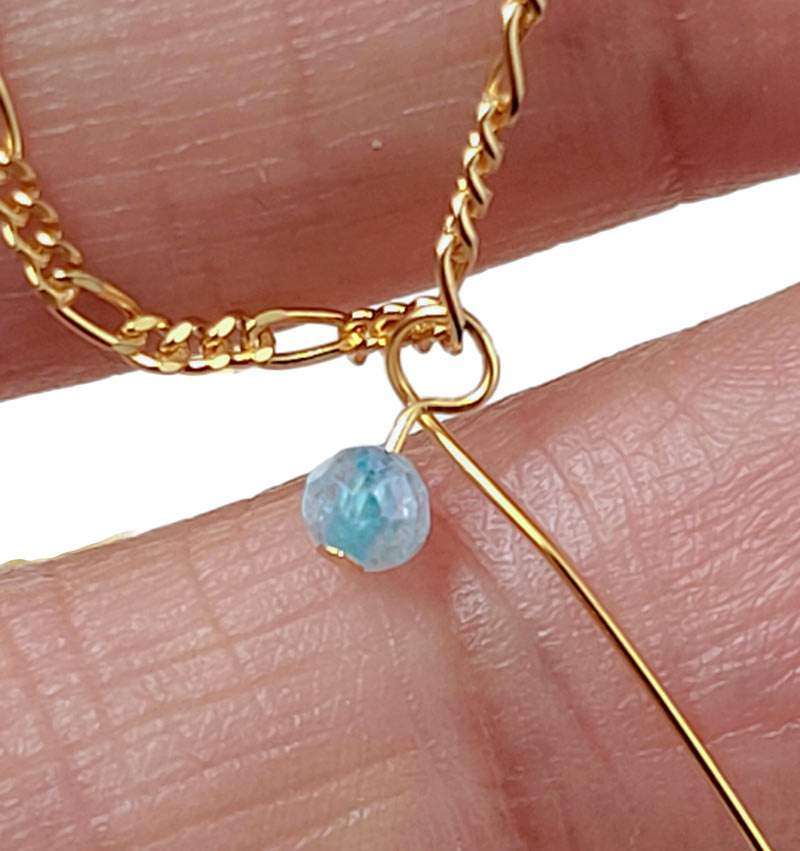
Remove the pliers and pull the headpin with the eyelet through a chain link.
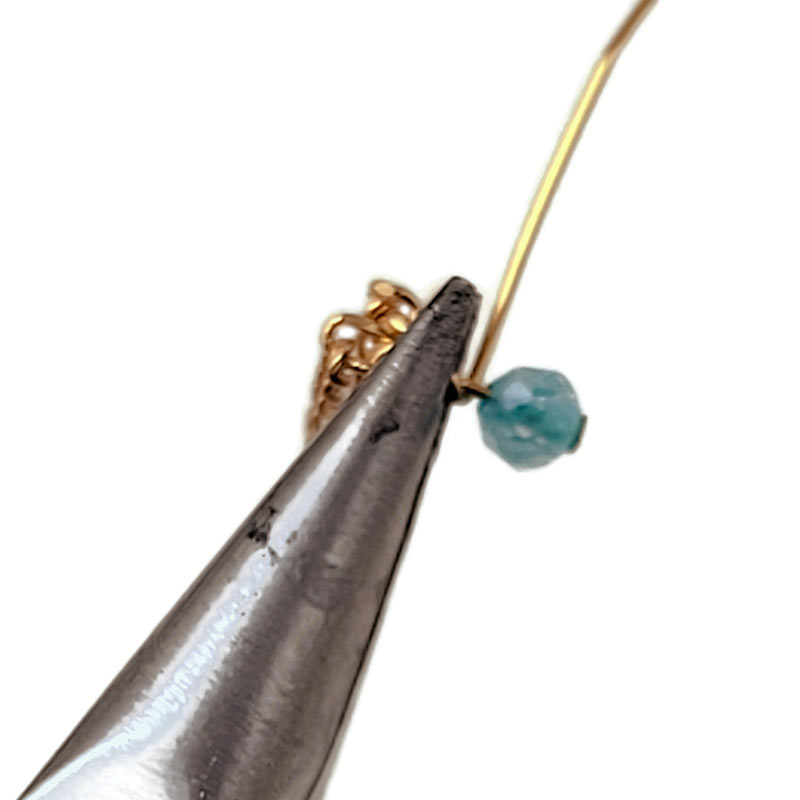
Now hold the eyelet firmly with the chain-nose pliers and twist the headpin round and round using another pair of pliers (or your fingers) until you reach the bead.
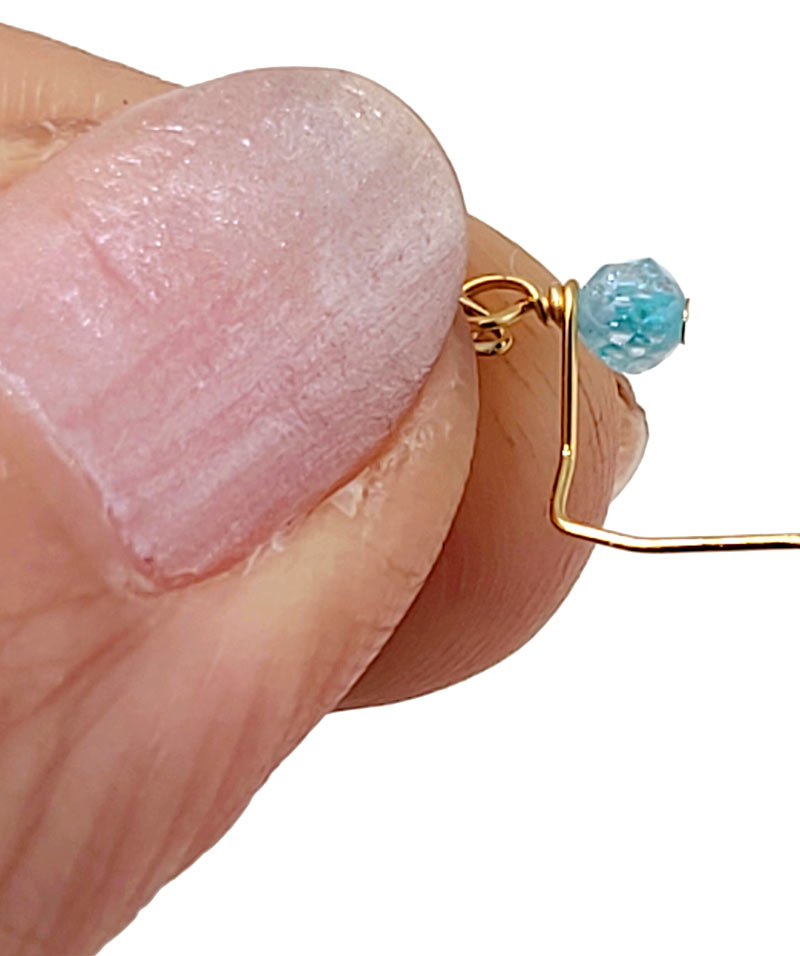
Cut off the excess wire with sharp side-cutting pliers.
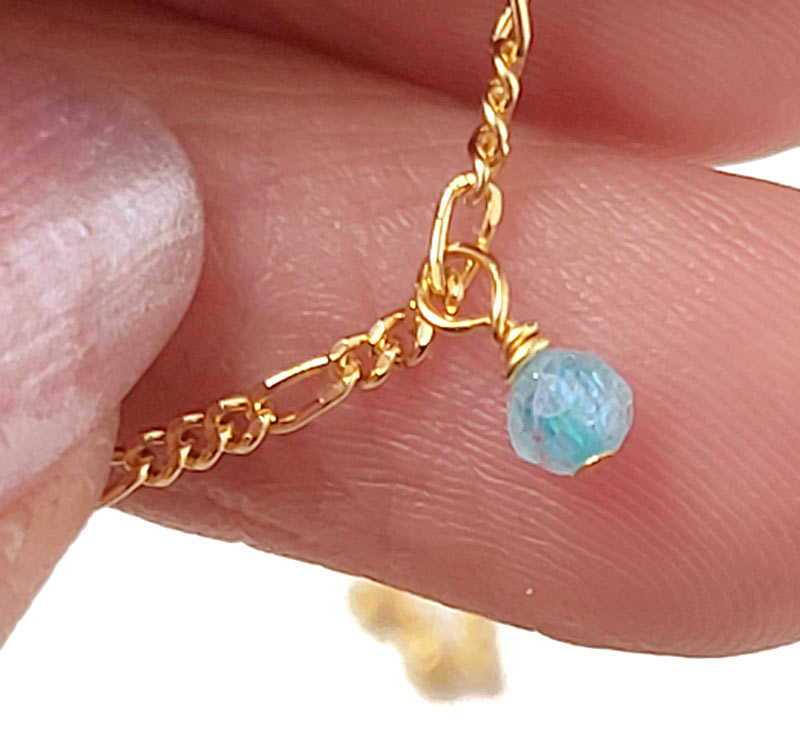 Push the remaining end of the cut-off headpin firmly inwards with the chain-nose pliers so that it doesn’t stick out.
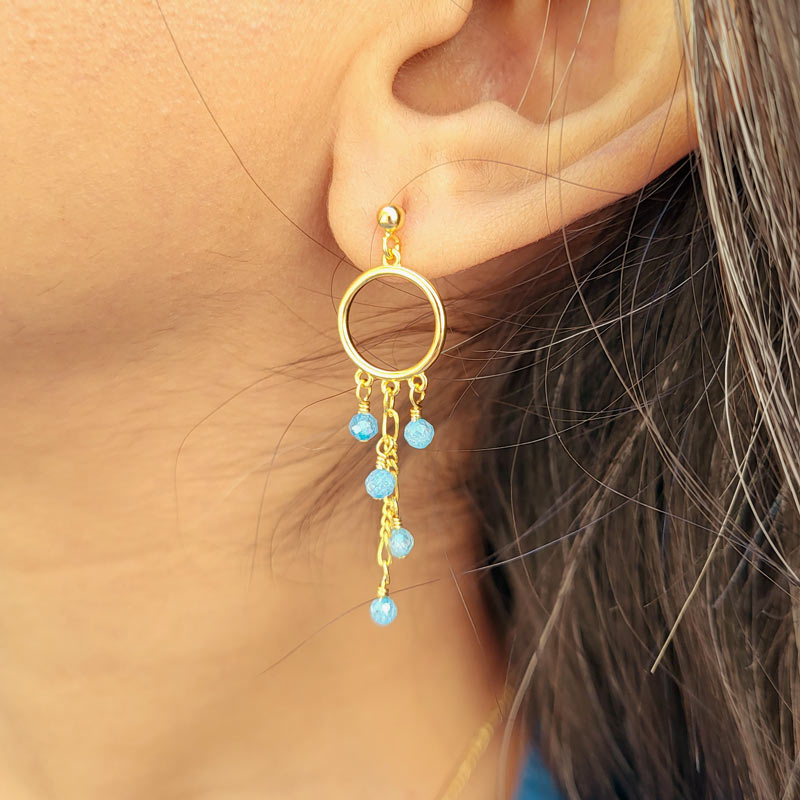 For this earring, we used the following DIY components in addition to the materials mentioned above:
Circle pendant with 4 closed loops: 1888fgB-15x12mm
Earstuds with open eyelet lengthwise: 4166fg-3mm
Figaro chain, faceted, 0.6mm: 4166fg-3mm
We will publicly show your name and comment on this website. Your email is to ensure that the author of this post can get back to you. We promise to keep your data safe and secure.