


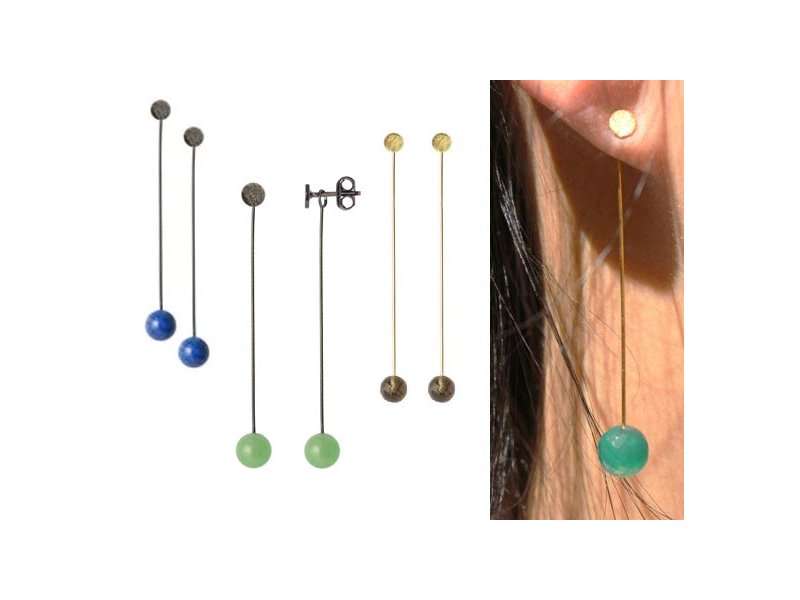
Simple stud earrings with hanging beads
Here we present a simple idea for creating beautiful earrings with genuine semi‑precious stone beads. The design consists of stud earrings paired with a long eye‑pin and a single bead or pearl, and it can be varied in countless ways by using different types of studs and beads in various sizes and colours.
In the Smyks stud earrings section, you can explore other designs that work well for this project, and under drilled beads you’ll find a wide selection of beads suitable for gluing. You can, of course, also use ordinary through‑drilled beads and string several beads on the same pin for a more decorative look.
If the pin feels too long, simply trim it to bring the bead closer to the ear.
The bead hangs from the end of a thin eye‑pin, and the ear stud features a small brushed plate – simple and elegant. The pin with the bead is placed on the stud behind the ear, and the back stopper is fastened at the end. This two‑piece design allows you to swap the bead element whenever you like, so you always have a pair that matches your outfit or style.
You can also choose a different type of ear stud here.

Earrings with aventurine beads
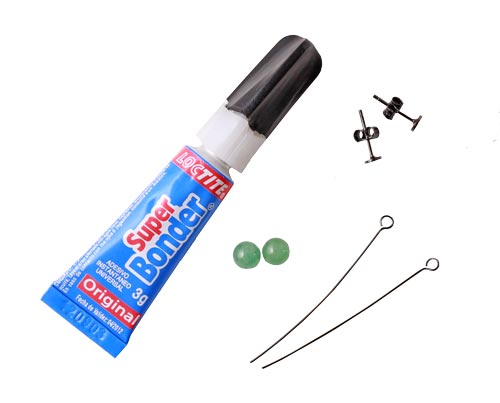
You’ll need the following materials:
1 pair of earstuds, oxidised sterling silver with 4mm pad
2pcs. oxidised silver eyepins
2pcs. half-drilled stone beads, 6mm aventurine
+ glue
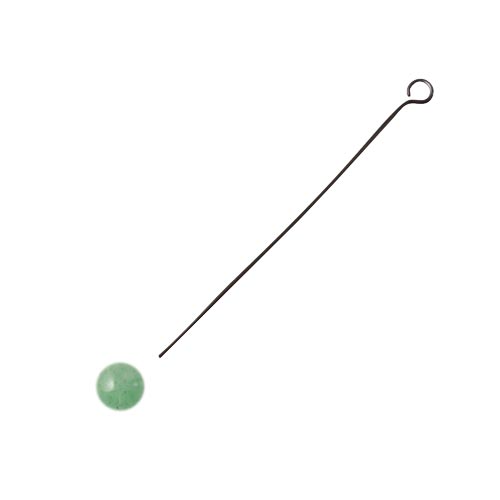
Start by straightening the eyepin if it looks a little crooked. This is easy to do and doesn’t require any tools.
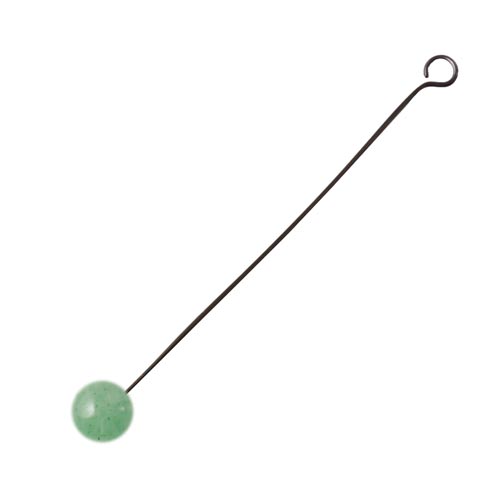
Apply a tiny dab of glue to the headpin and insert it into the gemstone bead. Half‑drilled beads have holes that go only halfway through, which makes them ideal for this type of design.
Smyks offers a wide selection of half‑drilled pearls, beads, and teardrops – you can explore them here.
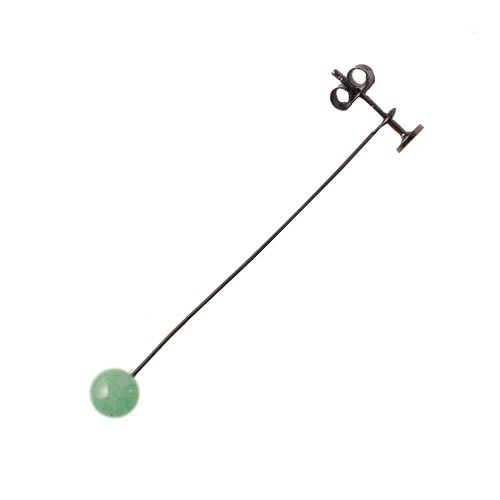
Next, thread the ear stud through the eye of the eyepin – and your earring is finished.
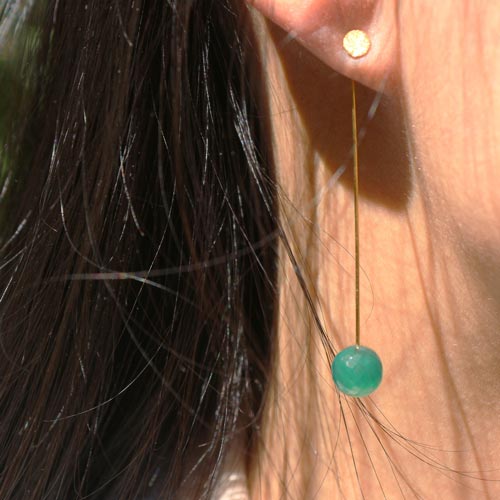
For an even more elegant look, place the ey‑pin on the back of the ear stud. Put the stud through your ear first, then add the eyepin behind it.
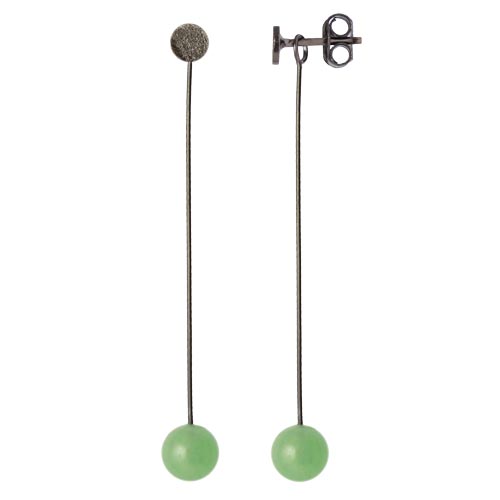
It’s easy to make these earrings – in just seconds you can create a unique and stylish piece of jewellery yourself.
Enjoy your earrings!
Feel free to send us your comment or idea via the comment field below.
We will publicly show your name and comment on this website. Your email is to ensure that the author of this post can get back to you. We promise to keep your data safe and secure.