Christmas ornaments you can make yourself
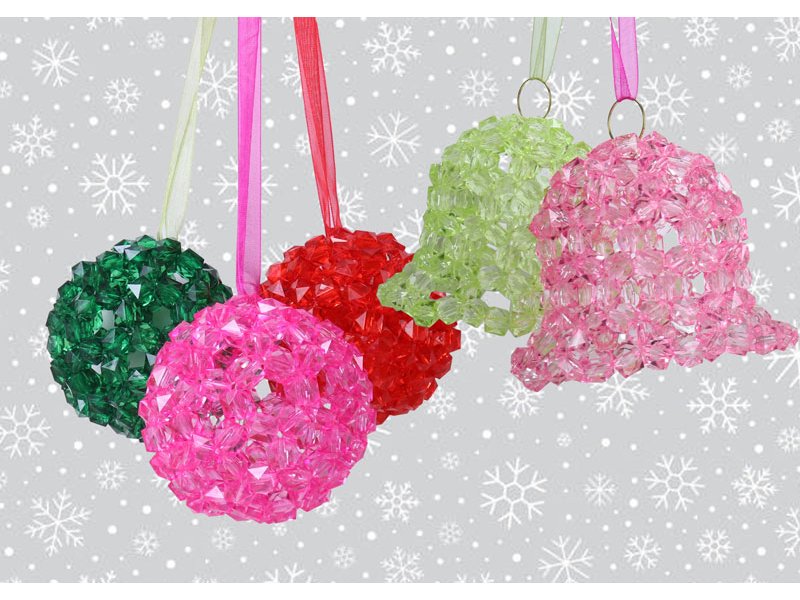
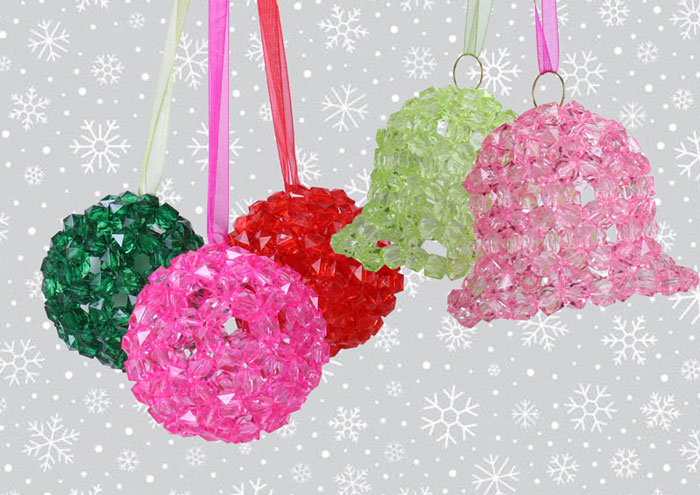
In this blog post, we show you how you can use thread and a handful of beads to make the most beautiful Christmas baubles to hang on the Christmas tree, in the window or wherever you want to welcome Christmas. Use some of your leftover beads in a creative and simple way and delight your loved ones with an original and personalised gift.
See also the related blog post DIY Crystal Balls.
Further down in this blog post, you find the instructions for the Christmas bell...
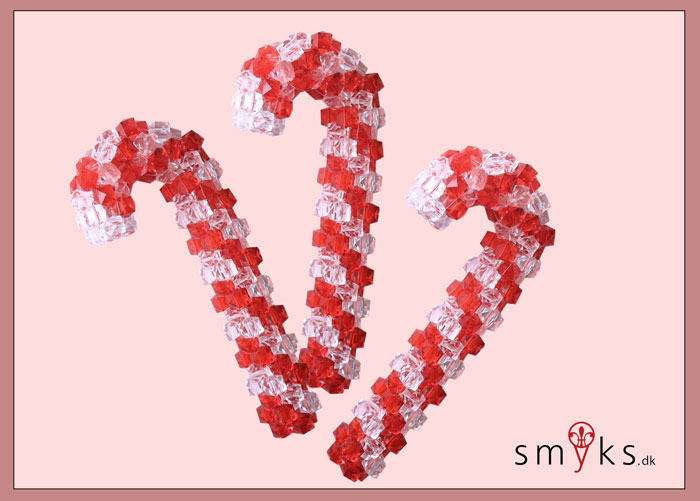
... and the instructions for making this pretty candy cane can also be found further down in this blog article.
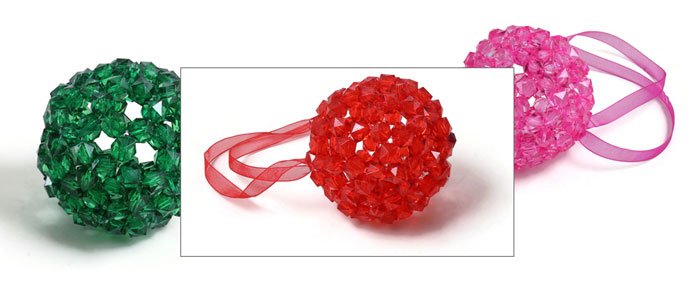
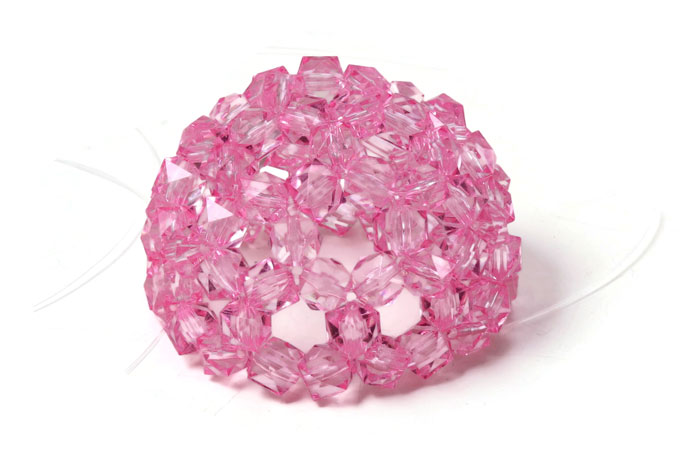
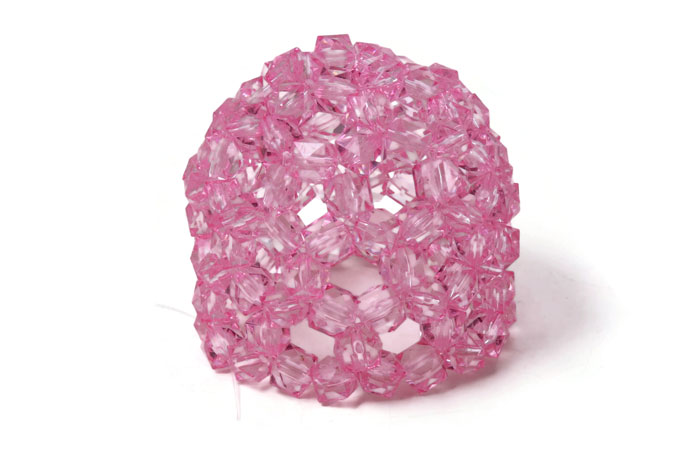
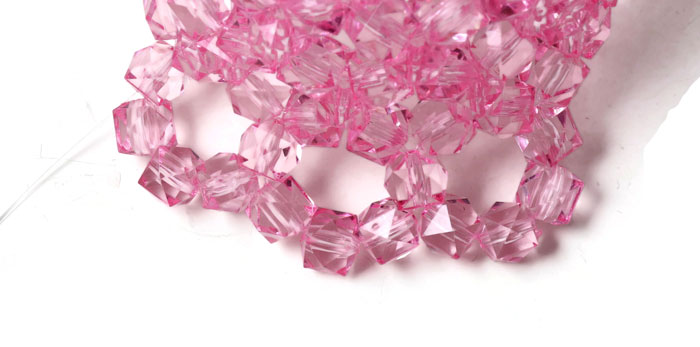
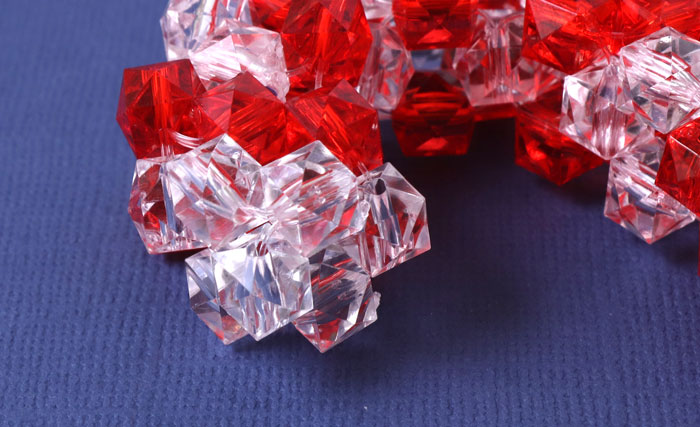
These sparkling Christmas baubles are made with square acrylic beads 8x8x8mm. The finished bauble has a diameter of 6cm.
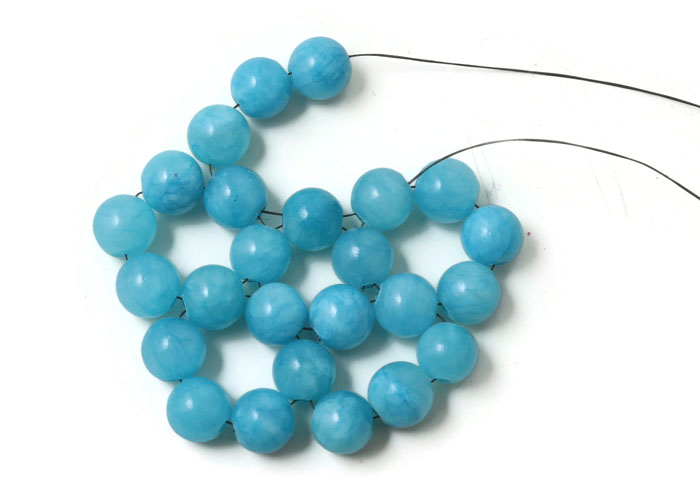
In the step-by-step instructions, we use blue-coloured jade beads and black thread so that the beads and thread stand out clearly in the pictures.
For 1 Christmas bauble, you need 120 beads + 2.5m transparent nylon thread 0.5mm.
The bauble is built in circles:
You start with 5 beads in the 1st circle.
The 1st round consists of 5 circles with 6 beads each.
The 2nd round consists of 10 circles that alternate between 6 and 5 beads.
The 3rd round consists of 10 circles with 6 beads each.
The 4th round consists of 10 circles that alternate between 6 and 5 beads.
The 5th round consists of 5 circles with 6 beads each.
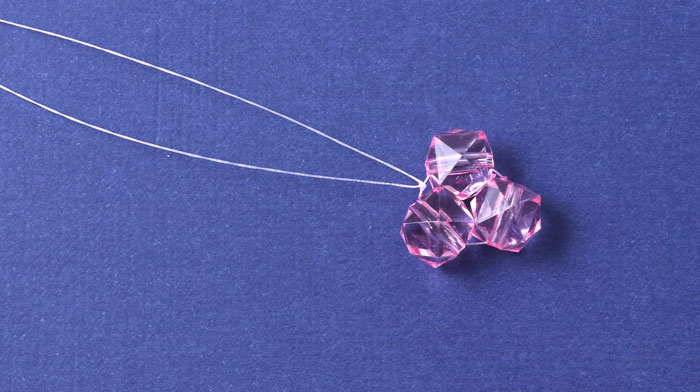
Thread 5 beads and place them in the centre of the thread. Pass the right-hand thread through the 1st bead in the opposite direction. 
Tighten the thread so the 5 beads form a circle.
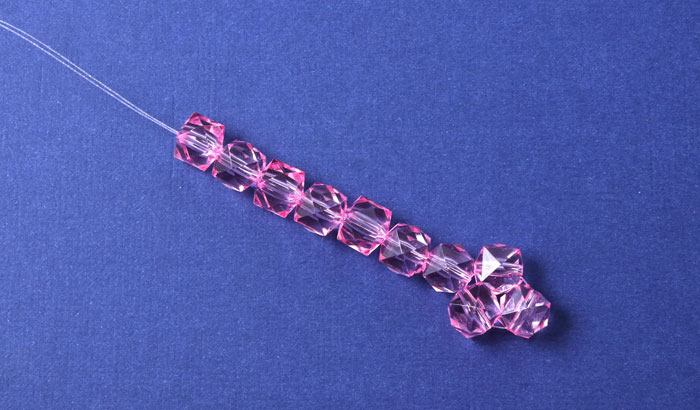
Now you sew the 1st round.
It consists of 5 circles with 6 beads each.
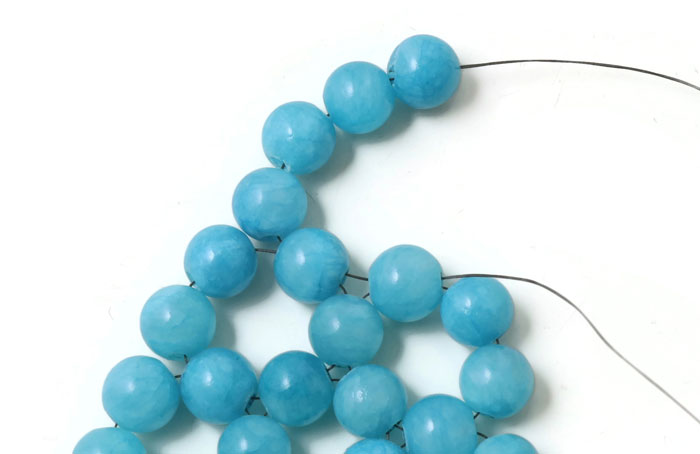
String 5 beads onto the thread on the left.
Pass the right thread in the opposite direction through the last of the 5 beads.
From now on, we will call this "to close the circle".
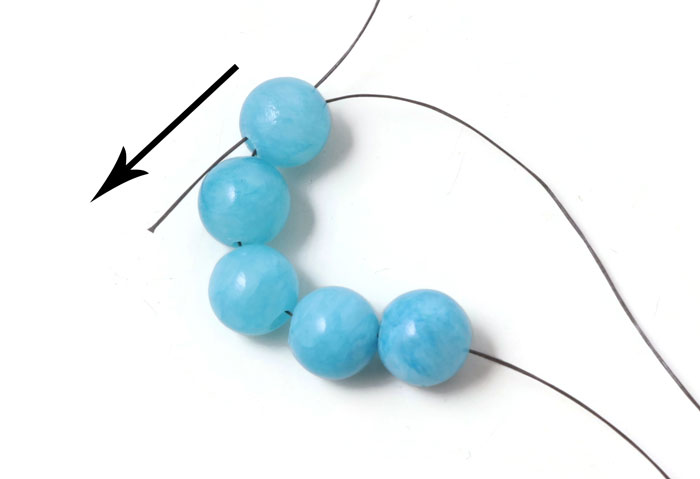
Tighten the thread. The 1st circle in the 1st round is done. It consists of 6 beads.
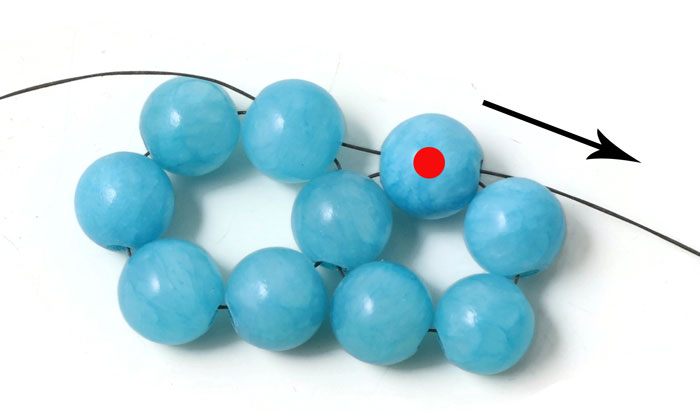
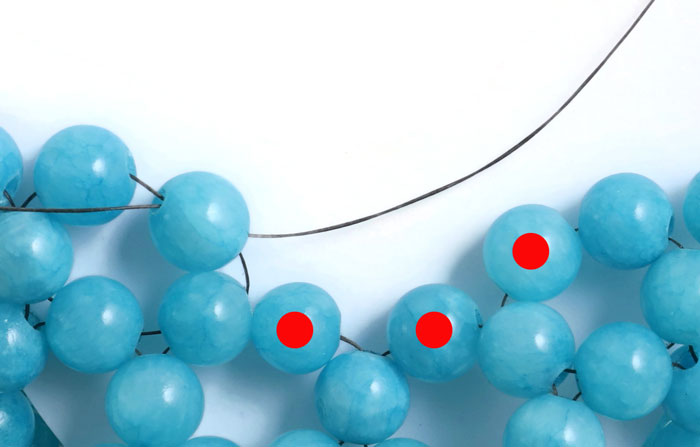
Pass the right thread through 1 bead on the right (see image).
From now on, we will call this "to move on through 1 bead".

String 4 beads onto the thread on the left.
Close the circle.
Move on through 1 bead.

Make the next 2 circles in the same way.
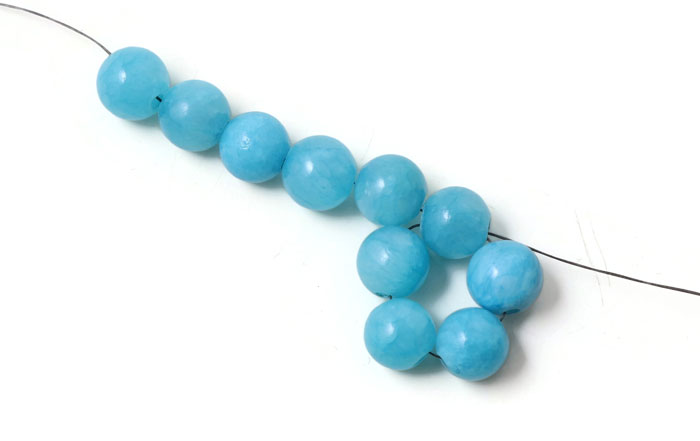
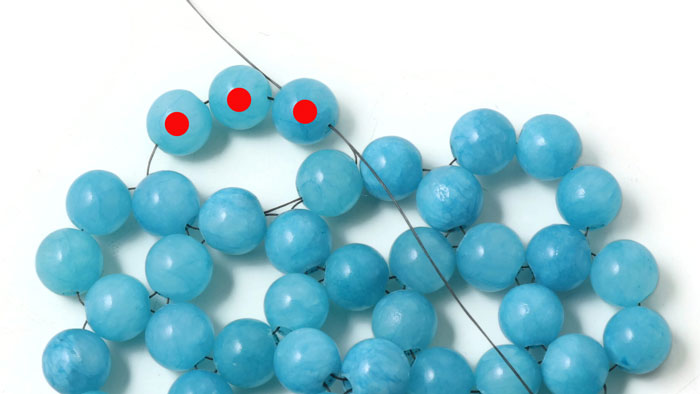
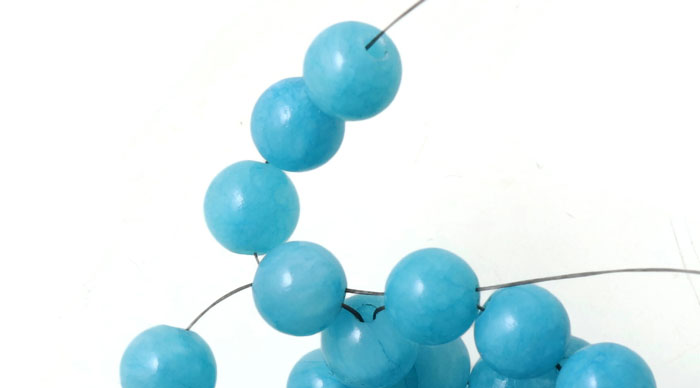
Now you make the last circle of the 1st round.
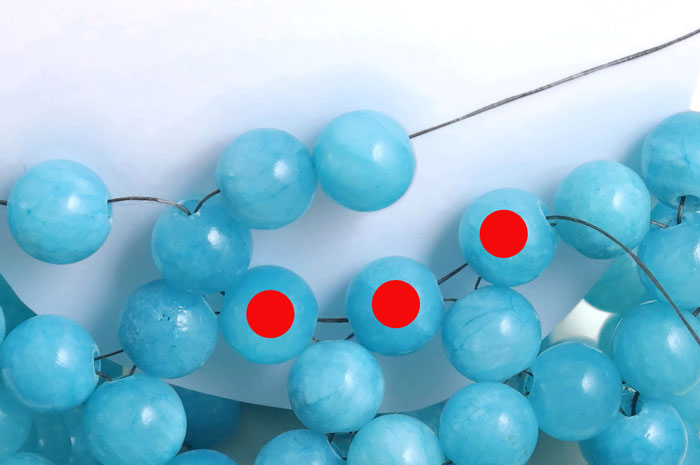
Move on through 2 beads (see picture).
String 3 beads onto the thread on the left.

Close the circle and move on through 1 bead.
Now you start the 2nd round.
It consists of 10 circles that alternate between 6 and 5 beads.
You alternate between moveing on through 1 bead and through 2 beads.
String 4 beads on the left thread.

Close the circle and move on through 1 bead.
String 3 beads and close the circle.

Move on through 2 beads.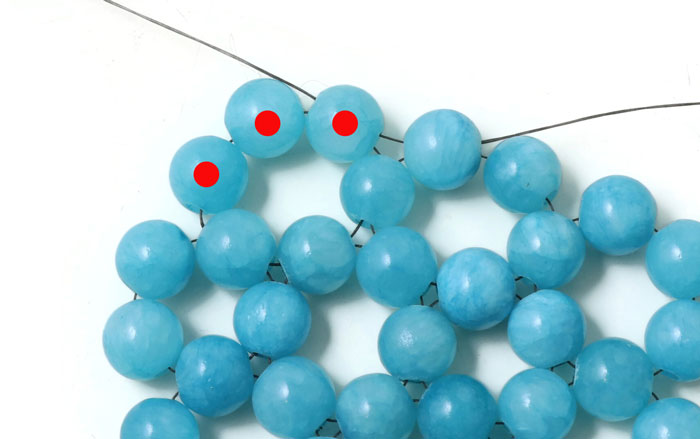
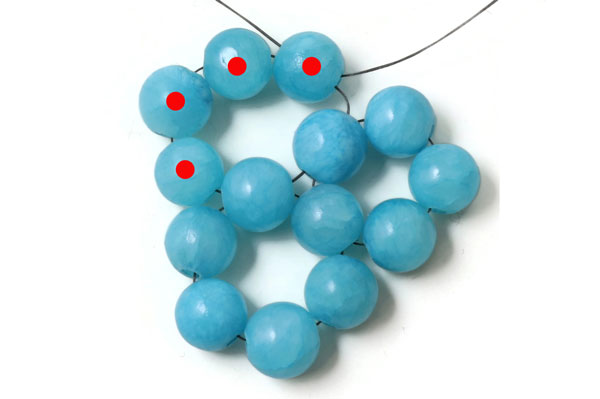
Start the next circle by stringing 3 beads ... then you close the circle ... and move on through 1 bead.
Continue in the same way all the way round.
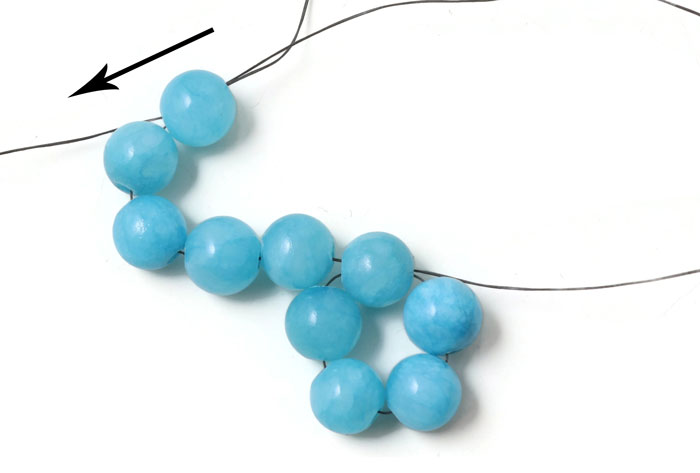
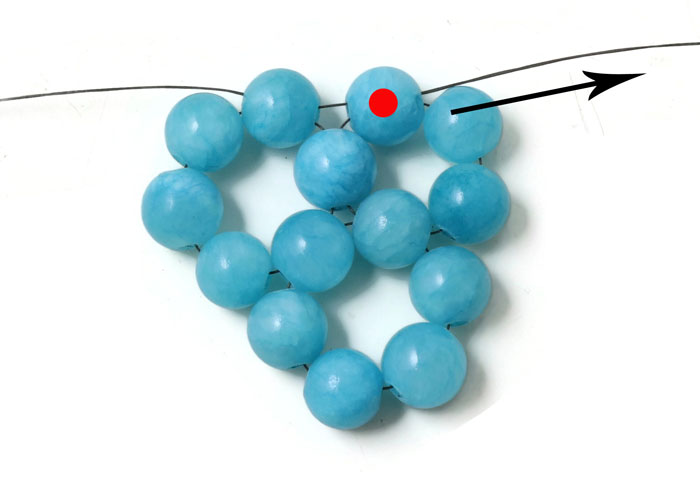
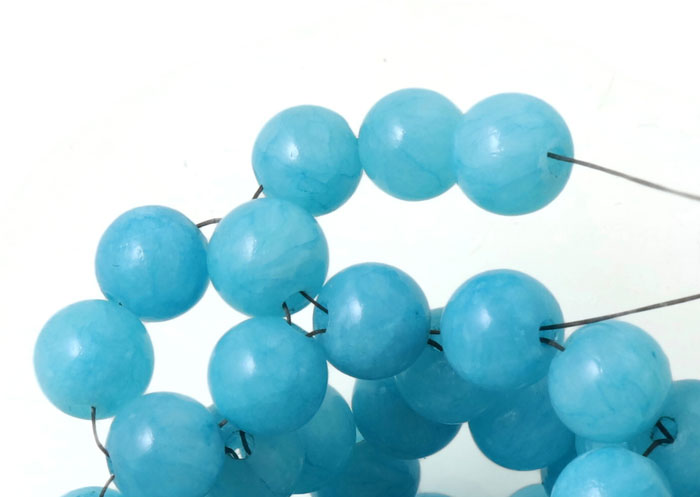
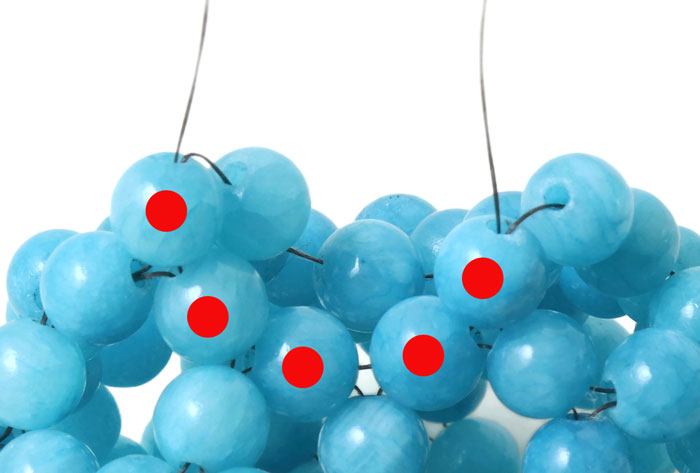
The picture shows the 3 beads in the second-last circle.
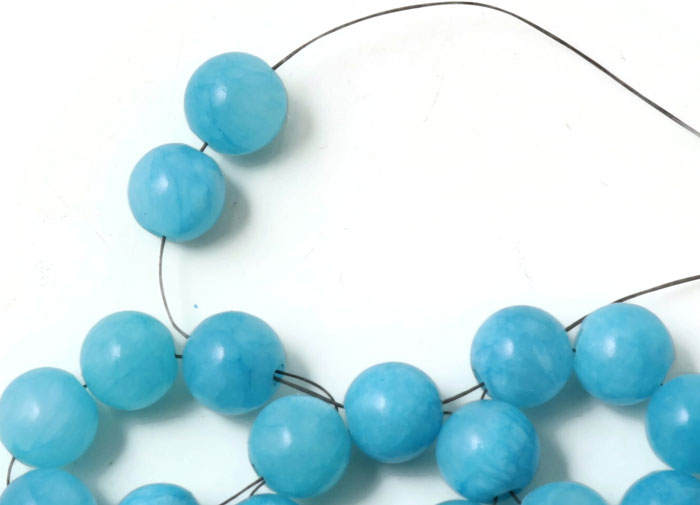
Move on through 2 beads and string 2 beads on the left thread.
Close the circle and move on through 1 bead.
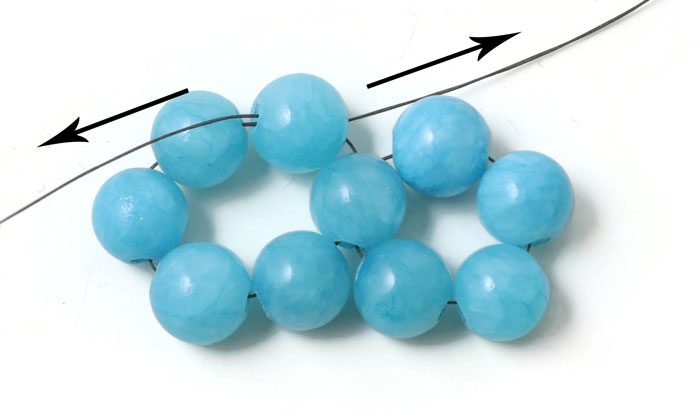
Now you sew the 3rd round.
It consists of 10 circles with 6 beads each.
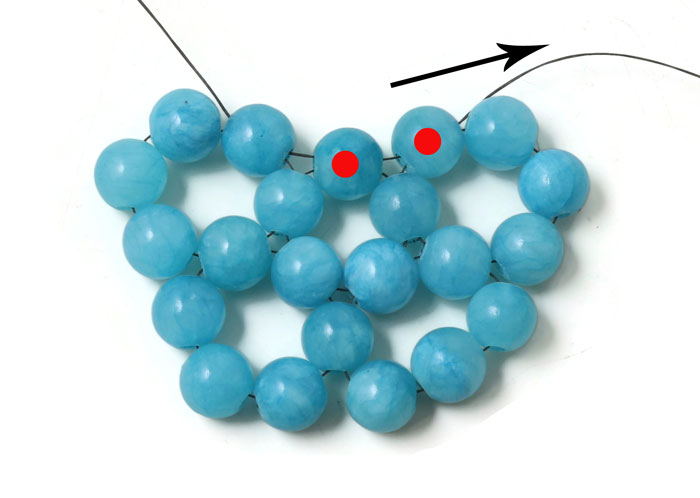
String 4 beads onto the left thread.
Close the circle ... move on through 2 beads ... and string 3 beads.
Fortsæt hele vejen rund med at føre 3 perler på tråden og steppe 2 perler frem i hver cirkel. Continue all the way round stringing 3 beads and moving on through 2 beads in each circle.

When you make the last circle, you move on through 3 beads and string 2 beads onto the thread.
Close the circle ... and move on through 1 bead.
Now you start the 4th round.
It consists of 10 circles which alternate between 5 and 6 beads.
You move on through 2 beads.
First, you string 3 beads ...

... then you close the circle and move on through 2 beads.
String 3 beads onto the thread ... and close the circle.
This was the 2nd circle. Continue all the way round making circles with respectively 5 and 6 beads in each.
Remember to move on through 2 beads.
When you are about to make the last circle, you move on through 3 beads.

String 2 beads ... and close the circle.
Move on through 2 beads.
Now you sew the 5th round.
It consists of 5 circles each containing 6 beads.
You move on through 2 beads.
Start by stringing 3 beads on the thread.

Close the circle and move on through 3 beads.

String 2 beads.
Close the circle ... move on through 3 beads ... and string 2 beads ...
The next 2 circles are made in the same way.
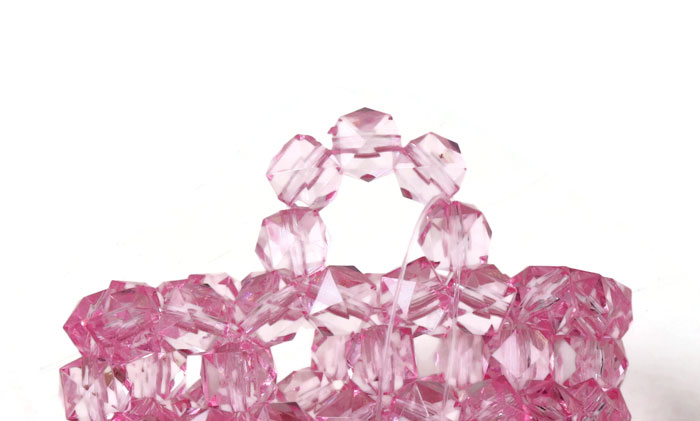
Before you start the 5th and last round, you move on through 4 beads.
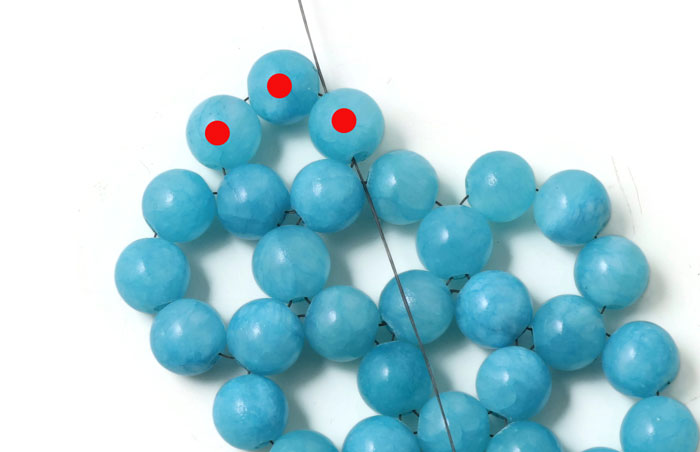
There are 5 beads on the thread now.
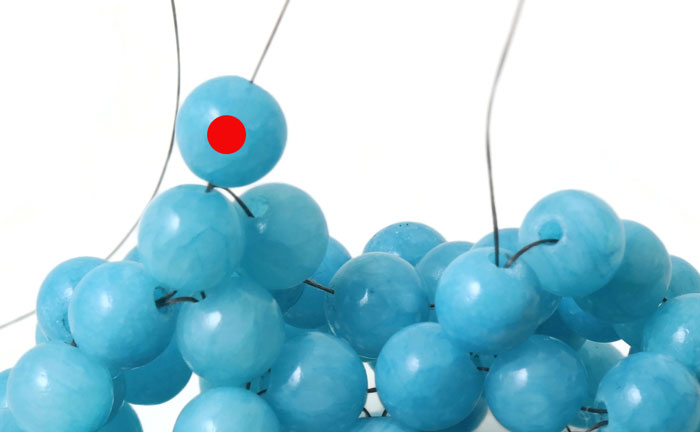
String 1 bead ...

... and close the circle.
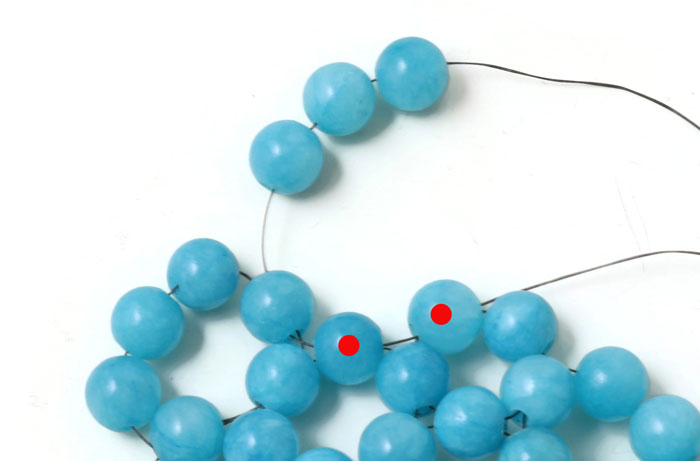
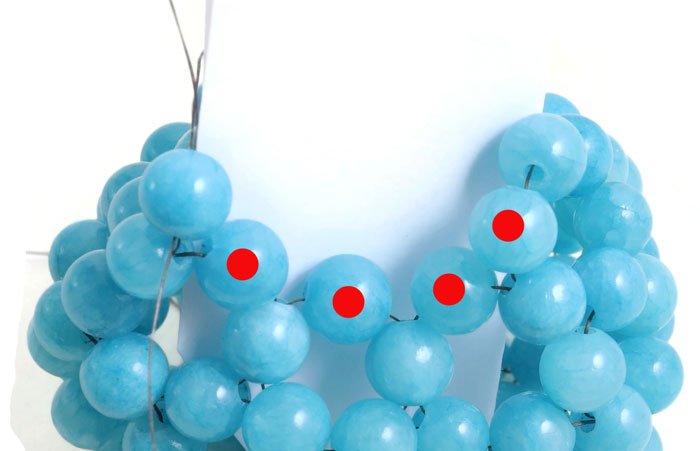
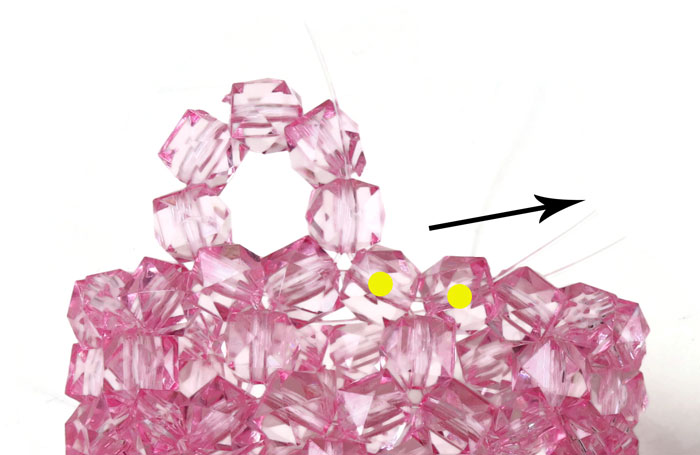
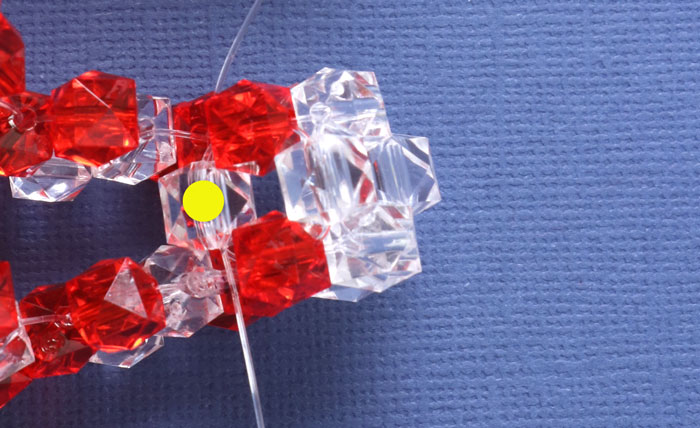
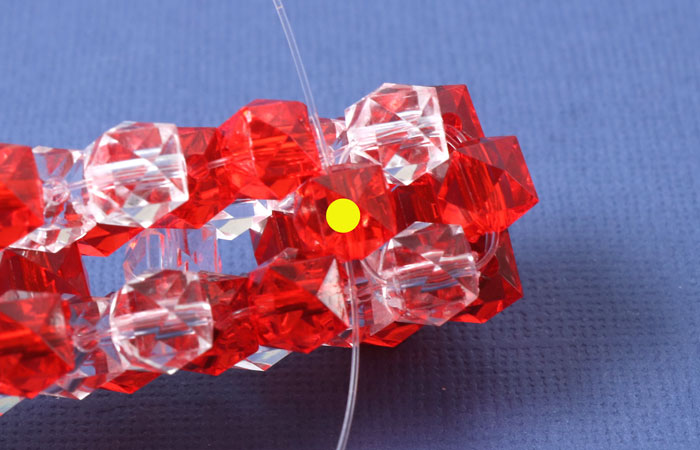
The red dots show the last circle in round 5 (it consists of 6 beads).
Pass the right thread through the 4 beads marked with yellow dots... so that the thread ends meet.
Bind a double knot ... pass the thread ends through 2-3 random beads. Apply a bit of glue on the knot.
Cut off the excess thread.
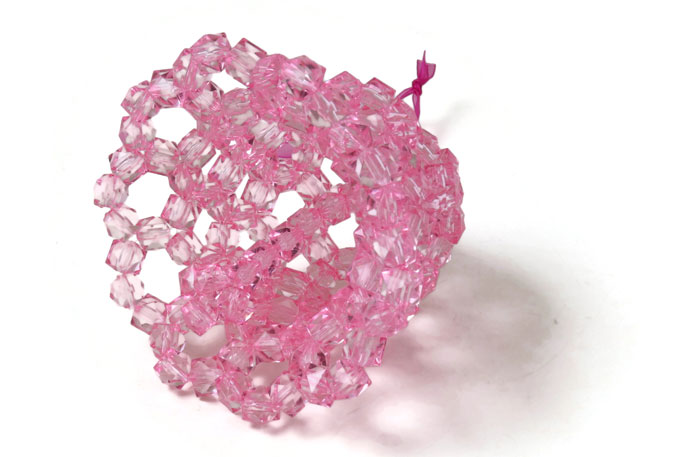
Your bauble is done.
Christmas Bell

The Christmas Bell is built in circles:
(The first 3 rounds are exactly the same as for the Christmas bauble.)
You start with 5 beads in the 1st circle.
The 1st round consists of 5 circles with 6 beads each.
The 2nd round consists of 10 circles that alternate between 6 and 5 beads.
The 3rd round consists of 10 circles with 6 beads each.
................................................................................................................
The 4th round consists of 10 circles with 6 beads each.
The 5th round consists of 10 circles with 7 beads each.
You need the following comonents for the Christmas bell:
154 acrylic beads, square, faceted, pink (for the bell)
10 acrylic beads, square, faceted, pink (for the clapper - if needed)
3m nylon beading thread, transparent, 0.5mm
40cm FireLine, 8LB, white (You can also use transparent nylon thread)
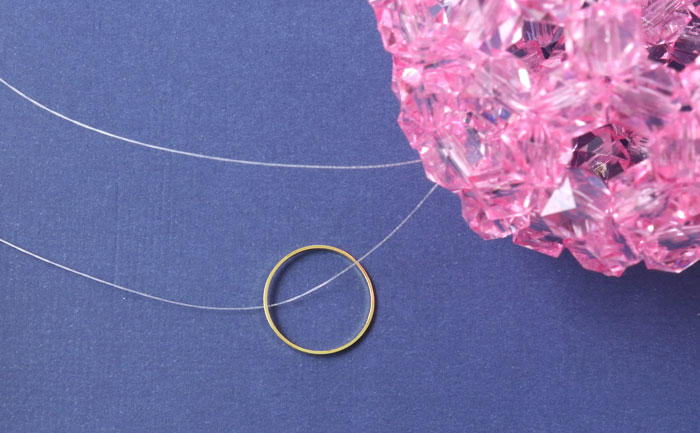
1 closed ring, 18mm, gilded brass
Sew the first 3 rounds exactly as for the Christmas bauble.
Then sew the 4th round... 10 circles with 6 beads each...
... and afterwards the 5th round with 10 circles, each consisting of 7 beads.
String 5 beads onto the left thread ... close the circle ...
... and move on through 5 beads. Next, string 4 beads onto the string, and so on.
Continue like this, all the way around. Then tie a double knot and cut off the excess thread.
String 3 beads ... place the beads in the centre of the thread ... and tie a double knot.
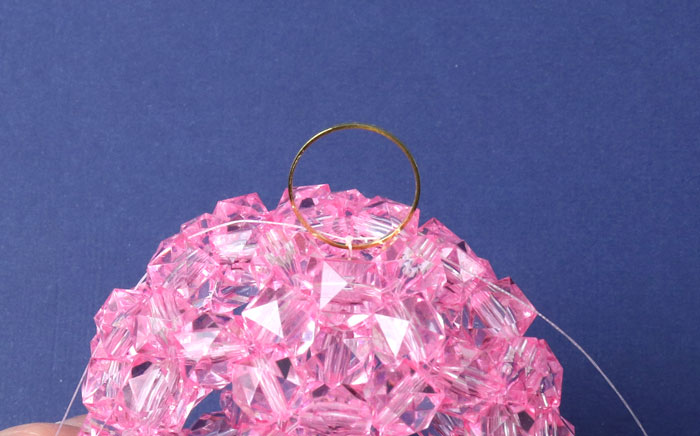
Next, you string 7 beads onto the double thread...
Thread 7 beads onto the double thread ...... and pass both thread ends through the central hole at the top of the bell.
Afterwards, you pass one of the thread ends through the closed ring.
Tie a few knots so that the ring sits tightly against the bell.
Apply a bit of glue to the knots and cut off the excess thread.
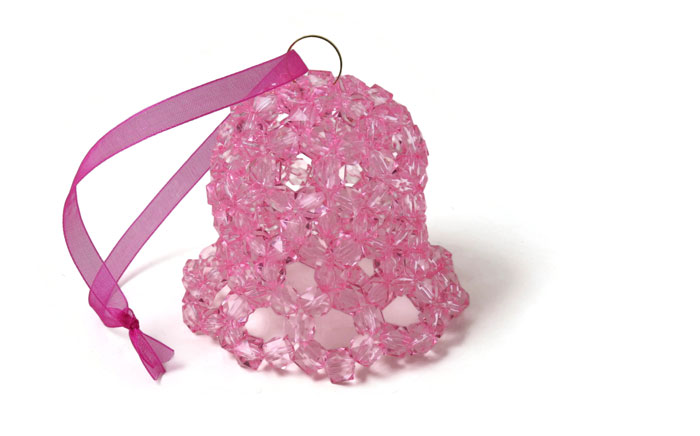
Tie a ribbon or bow to the ring.
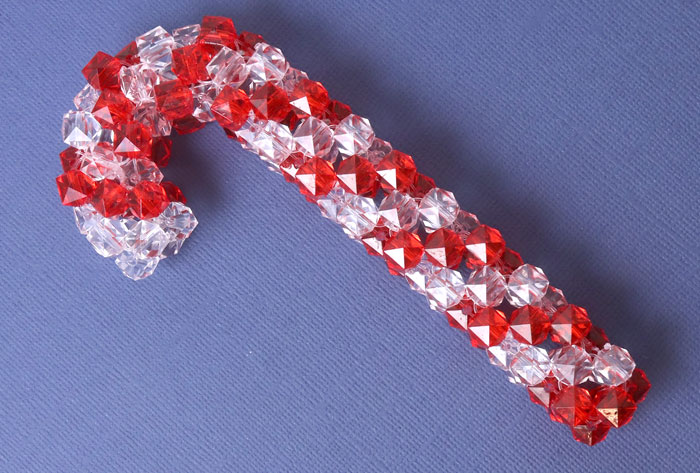
Candy Stick
For the candy stick, you need the following components:
Acrylic beads, faceted, 8x8mm, red
Acrylic beads, faceted, 8x8mm, clear
3 x 1m nylon beading thread, transparent, 0.5mm
The candy stick consists of two identical parts that are sewn together when finished.
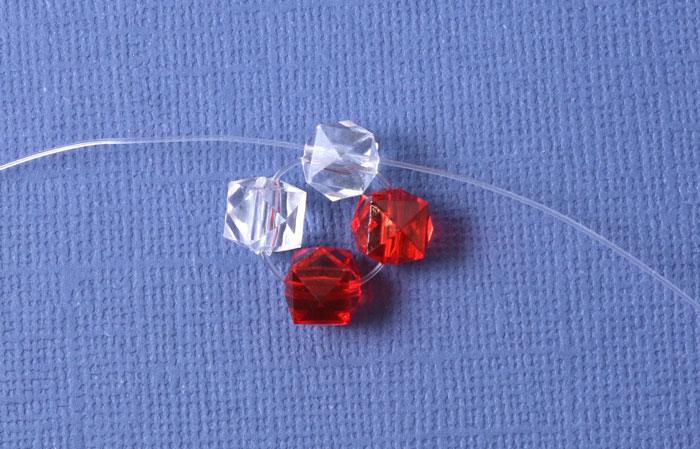
String 4 beads (2 red + 2 clear ones) ... place them in the centre of the thread ... and pass the thread back through one of the clear beads.
This is the 1st circle (see picture).
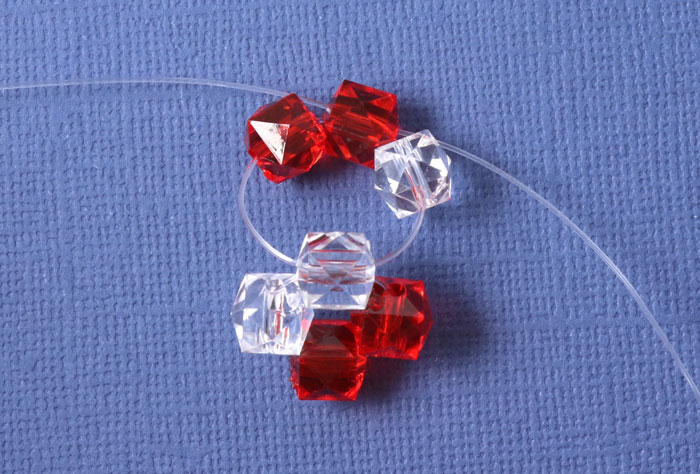
Now you sew the 2nd circle. String 2 red beads on the thread on the left ... and 1 clear bead on the thread on the right.
Pass the right thread back through the 2nd red bead to form a circle.

Tighten the thread.
Now comes the 3rd circle. Thread 2 clear beads onto the left thread ... and 1 red bead onto the right.
Then you pass the right thread through the 2nd clear bead (see picture).
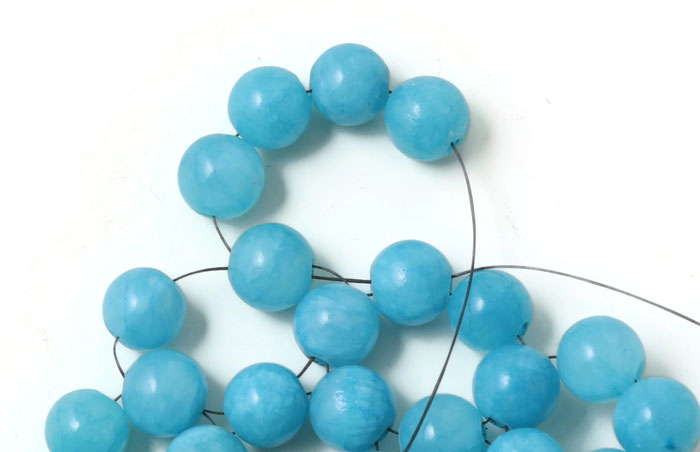
Tighten the thread. Now you can already see the stripes.
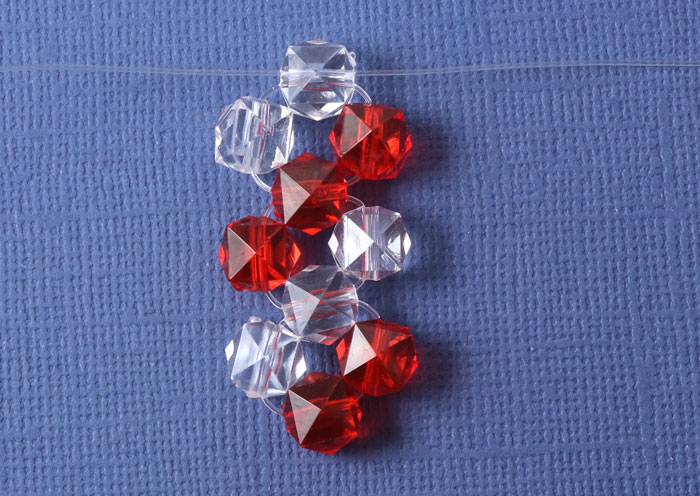
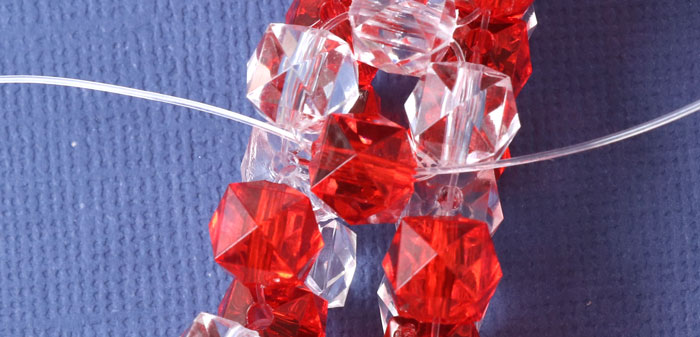
Continue until you have formed a total of 9 circles, with the stripes positioned as shown in the picture.
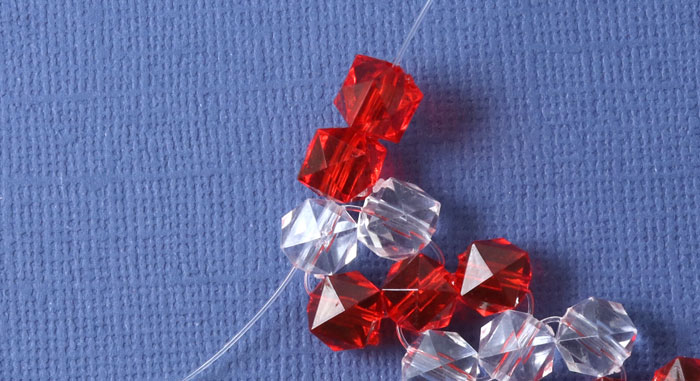
Turn your piece of work so that the top two clear beads are on the left (see picture).
Thread two red beads onto the right thread...
and pass the left thread back through the 2nd red bead.
Tighten the thread.
String 1 red bead onto the left thread ... and 2 clear beads onto the right thread.
Pass the left thread back through the 2nd clear bead.
Tighten the thread. Then string 2 red beads onto the right thread again ... and form a circle.
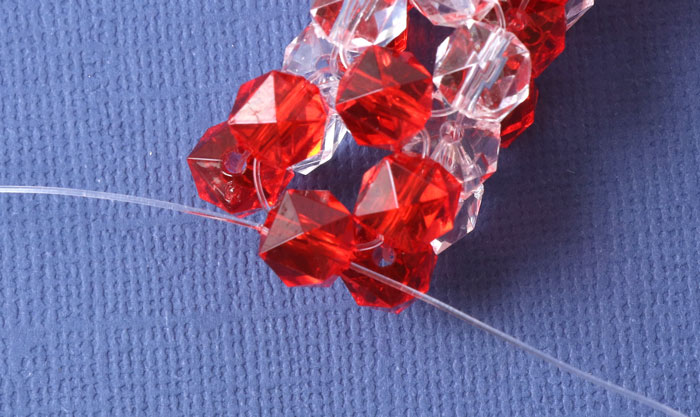
Repeat this... make the next circle with 3 beads (see picture).
Then again with 2 red beads ... 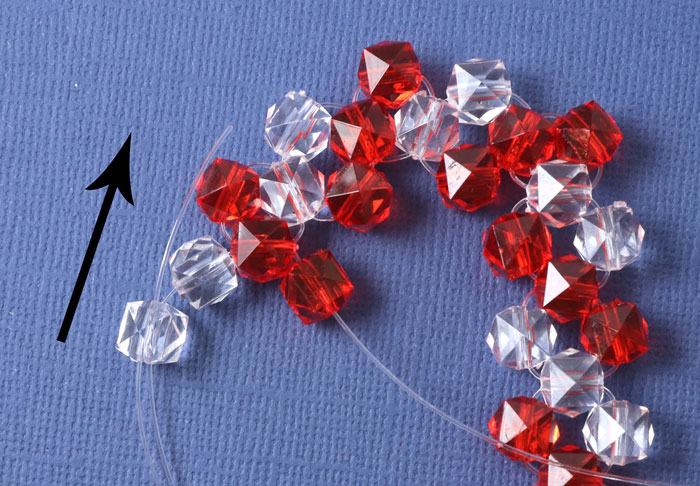
... 3 beads ...
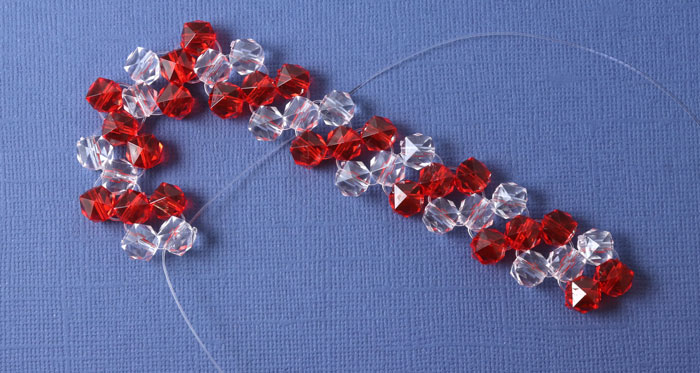
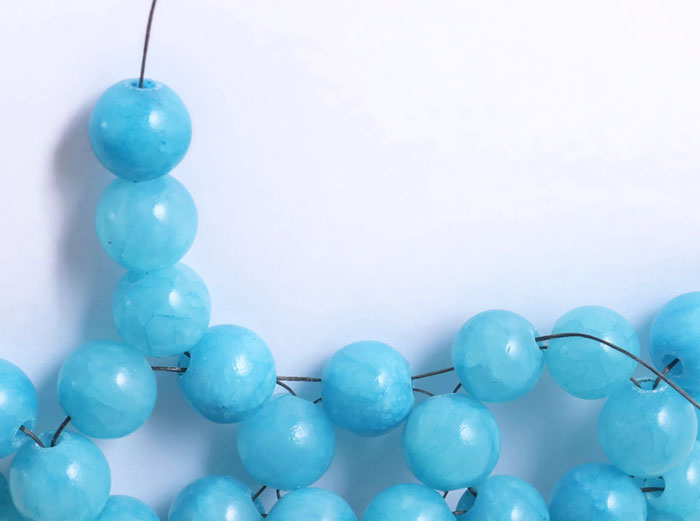
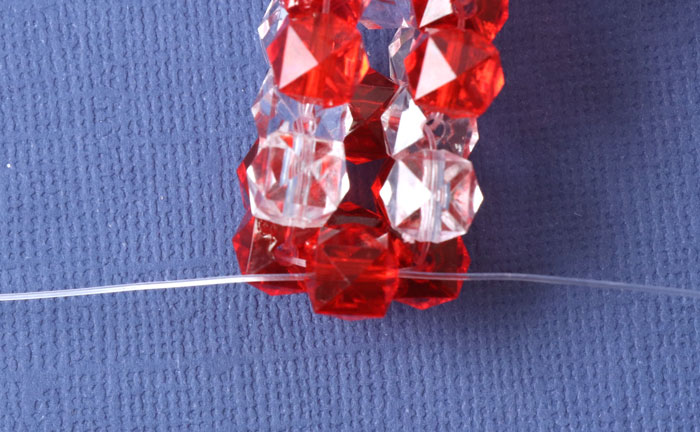
Tighten the thread. The candy cane now looks like the one in the picture above..
Pass the thread ends back through the last circle until they meet. Then tie a double knot, apply a little glue to the knot... and cut off the excess thread.
Afterwards, make a second candy cane in the same way.

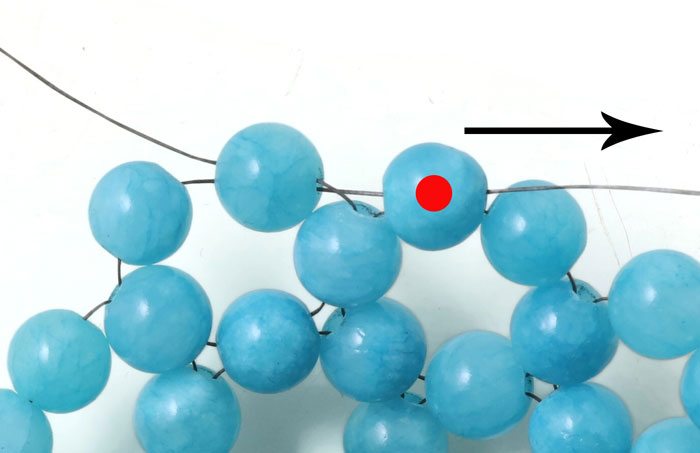
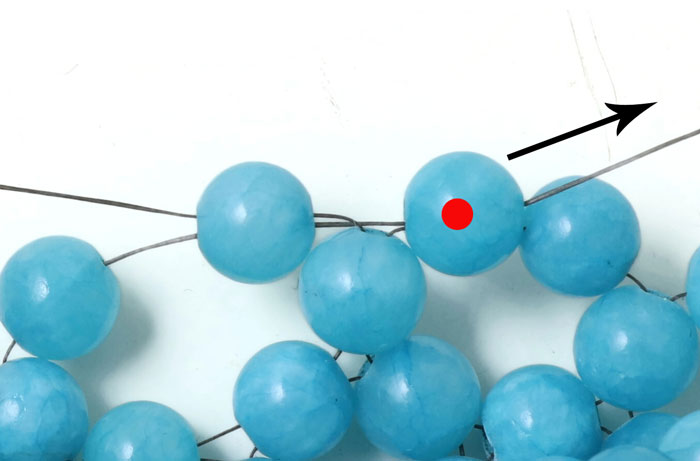
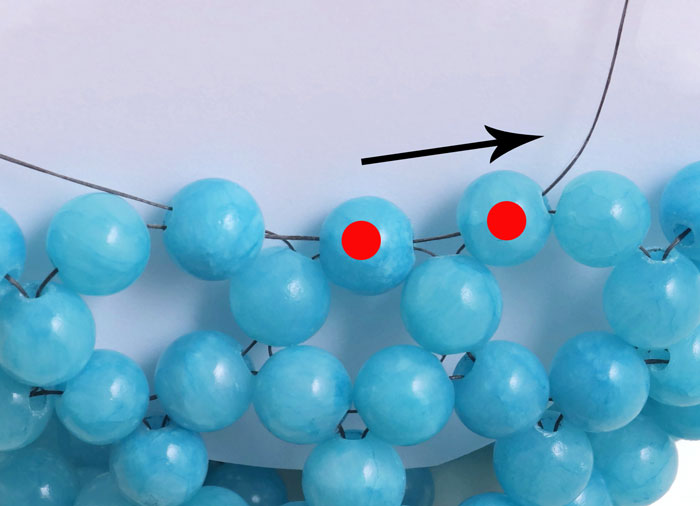
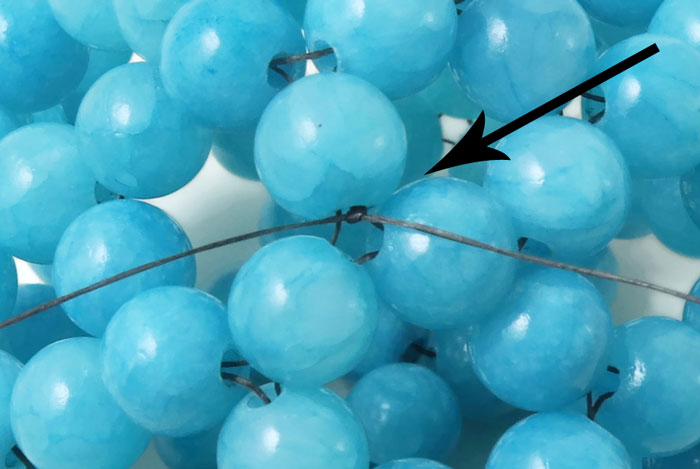
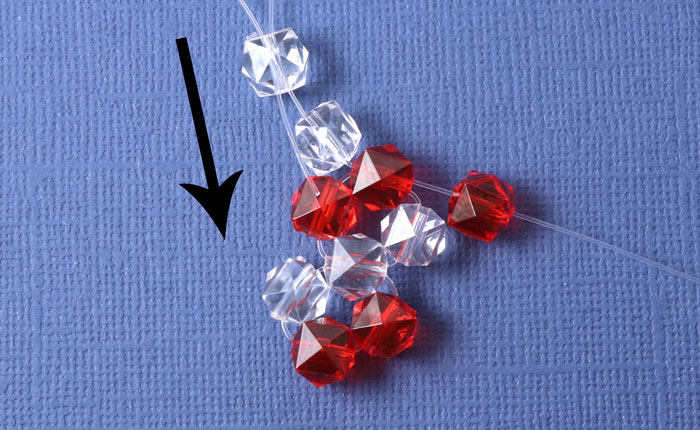
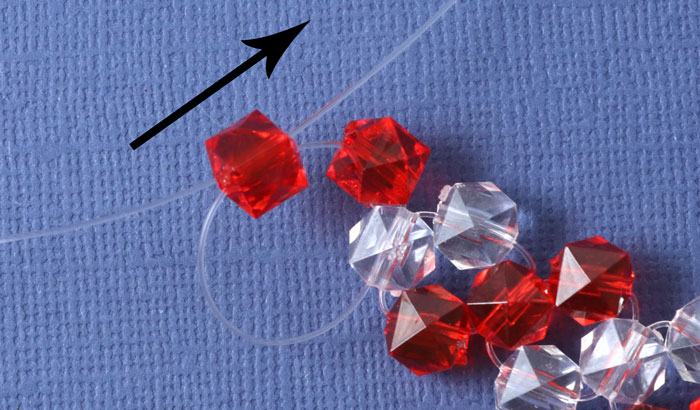
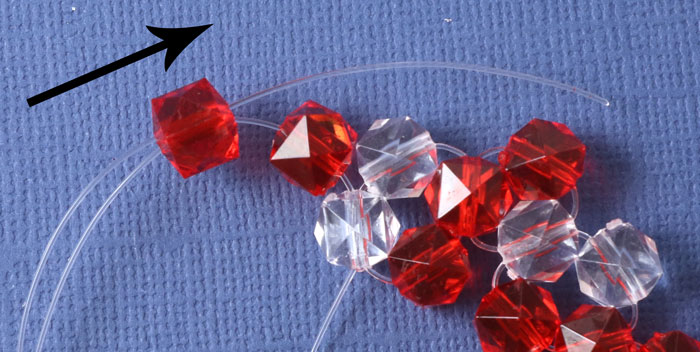
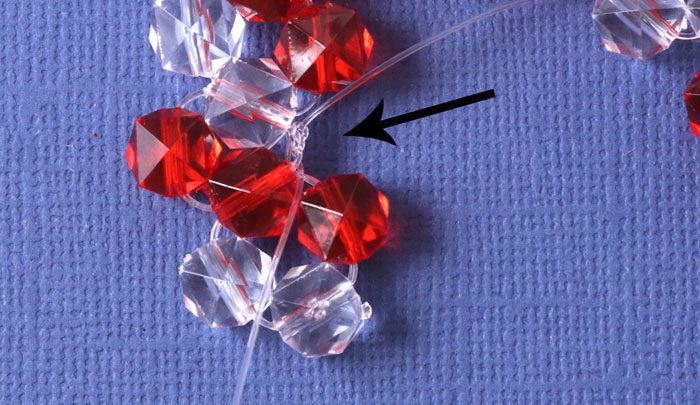
Now you sew the two pieces together. Cut a piece of thread approximately 1 metre long. Pass the thread through the clear bead at the top of the candy cane... and string one clear bead on each side of the thread (see picture).
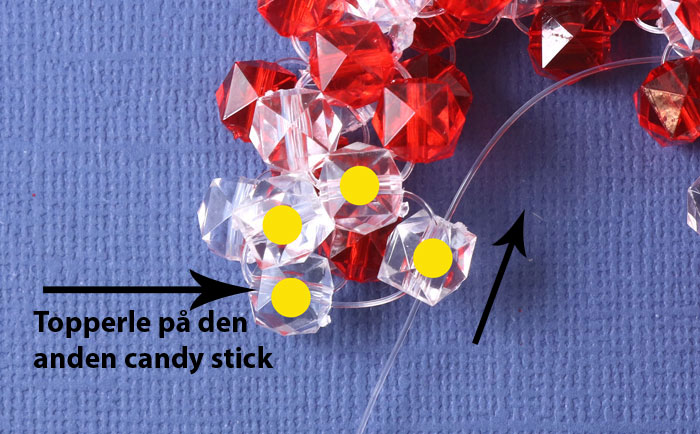
Pass the thread through the top bead of the other candy stick (see arrow - Topperle på den anden candy stick)) ... and back through the 1st clear bead (see picture)
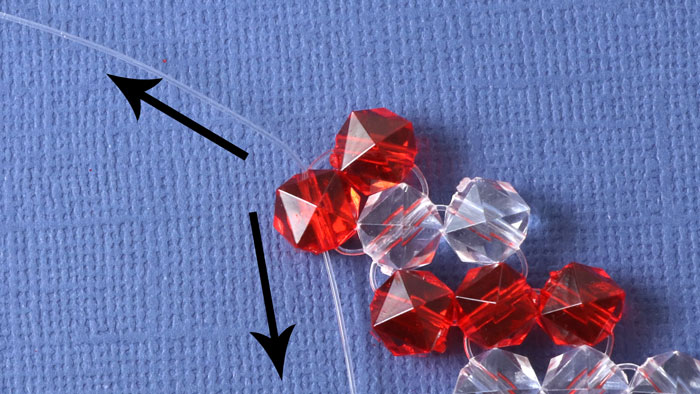
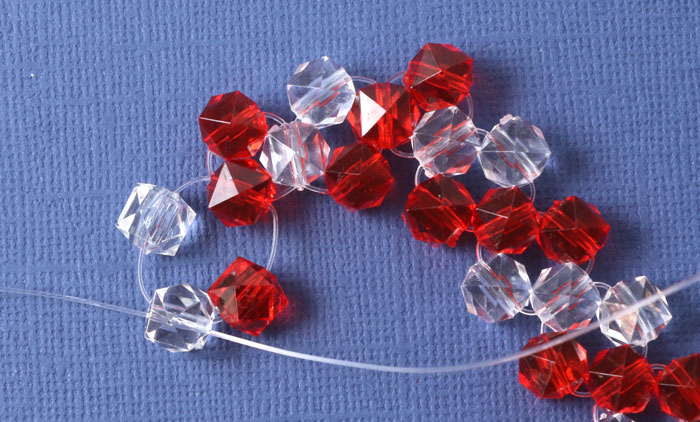
You now pull the thread ends through the red beads lying next to the clear bead. One to the right and the other to the left.
The beads and threads now lie as shown in the picture above. First, sew the inside of the candy cane together.
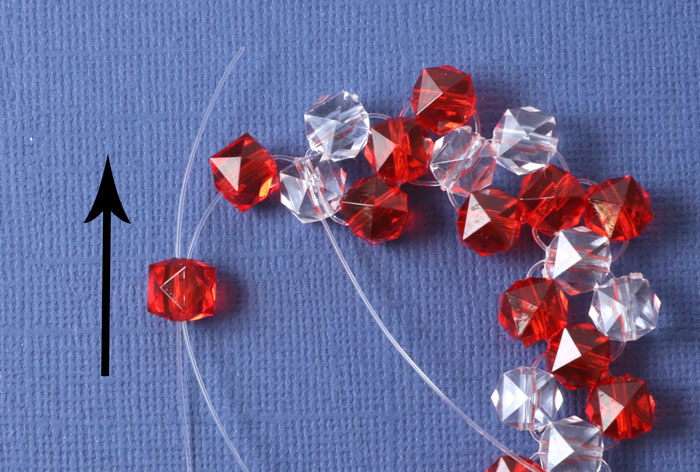
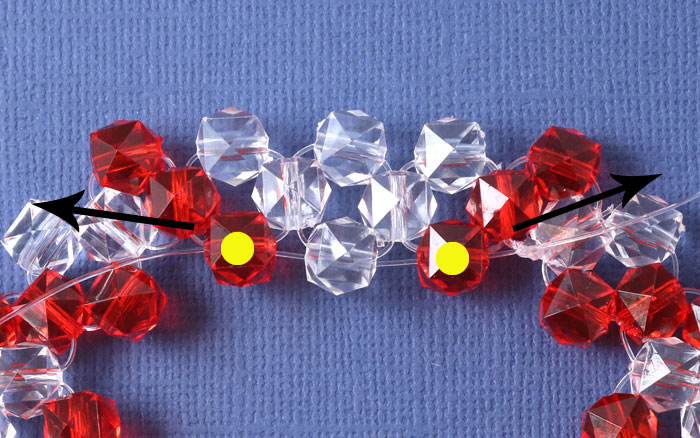
Place the two candy canes on top of each other. Thread 1 clear bead onto one thread end ... and pass the other thread end back through this bead.
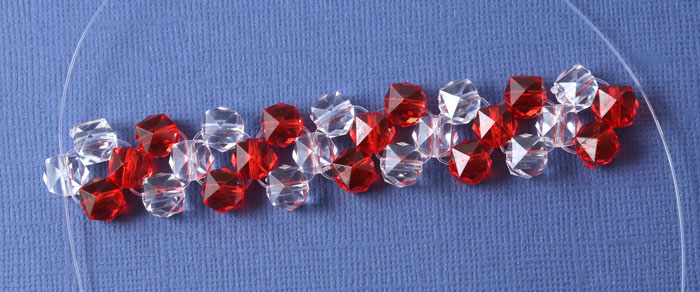
The candy cane is sewn together by forming circles with 1 additional bead... along the entire length of the cane, alternating between a red and a clear bead.
The next bead to be added is a red one.
Continue in this manner, adding one bead at a time along the entire length of the candy cane. Check that the pattern matches.
Finish the last circle with a red bead.
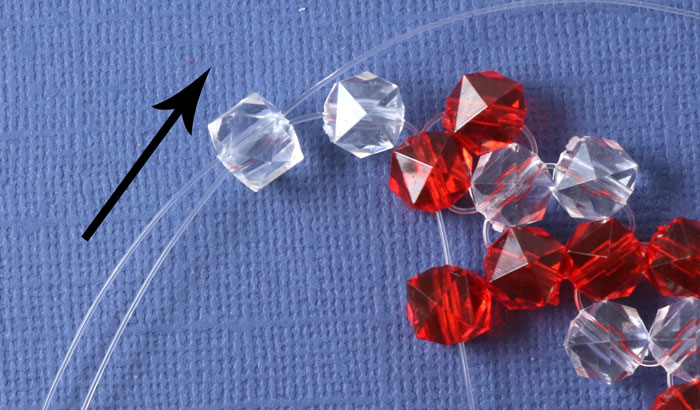
Turn your piece of artwork over and stitch the outer edges together.
Thread another red bead and form another circle. (This time you need 3 red beads in a row.)
After that, alternate between a red and a clear bead again... until you reach the tip of the candy cane. The tip consists of clear beads.
Pass the thread ends back through random beads... tie a knot if necessary... and cut off the excess thread.
Your candy stick is now complete.
We will publicly show your name and comment on this website. Your email is to ensure that the author of this post can get back to you. We promise to keep your data safe and secure.