How to Make Your Own Stitch Markers
Whether you're an experienced knitter or a beginner, this blog post from Smyks will inspire you to make your own stitch markers and knitting fish.
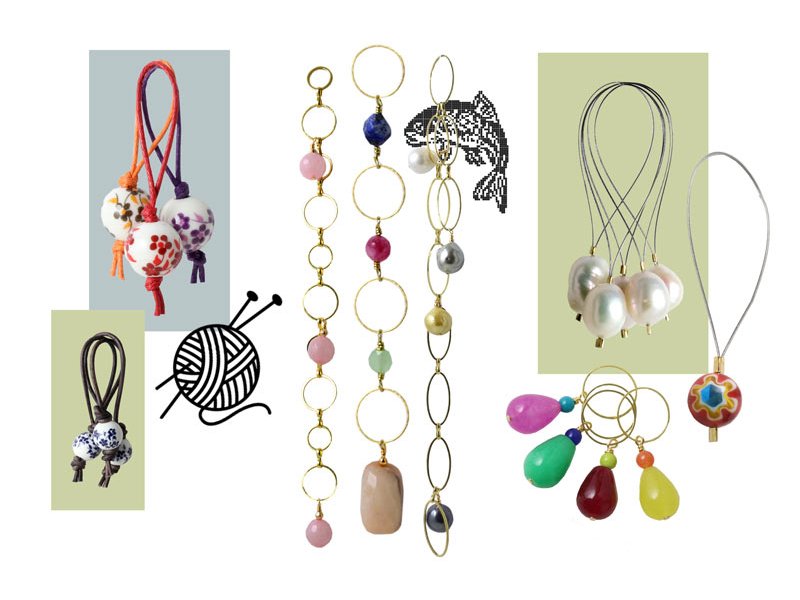
Stitch markers are a valuable aid and tool for any knitter who wants to keep track of their knitting and improve their technique. Whether you're a beginner or an experienced knitter, stitch markers can help you create structure and overview in your knitting projects. In this article, we'll guide you through everything you need to know about making stitch markers. Read along and discover how stitch markers can elevate your knitting experience and ensure you never lose your overview, whether you're working with patterns, repeats or complex patterns. Stitch markers can be made with all kinds of beads or pendants. They can be made with wire, closed rings, string, jewellery chain or leather. You can make pendants with your favourite beads.
In these examples, gold-plated parts are predominantly used, but in many cases these are also available in silver-plated variants.
Stitch Markers
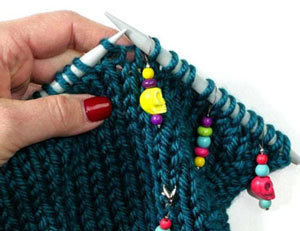
In knitting instructions you often come across wordings like "put a stitch marker" or "place marker". It means that you use a stitch marker to mark the end of a row or to remind you of a pattern change or where to increase or decrease stitches.
Chain Row Counter
If you use a row counter, it will be easier for you to keep track of the increased or decreased number of stitches. You place the counter on the needle in the first row and put it one ring down each time you have finished a row. If you do that, you know exactly how many rows you have finished.
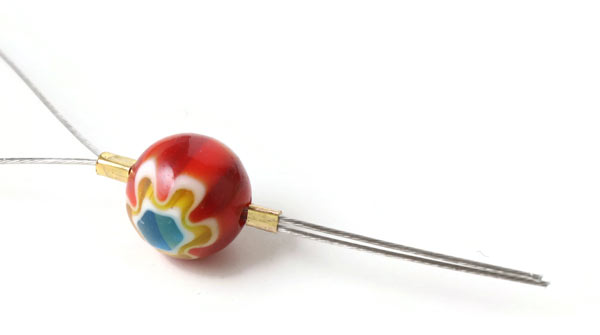
Stitch Marker with Wire and Millefiori Glass Beads
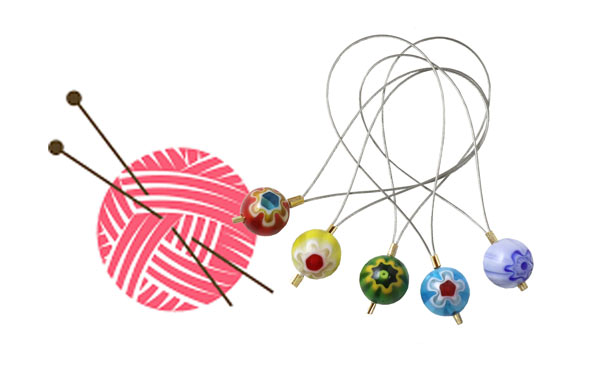
We used the following DIY components to make these stitch markers:
+ crimping pliers (Alternatively, you can use chain-nose pliers. In this case, you only press the crimp bead one time to flatten it.).
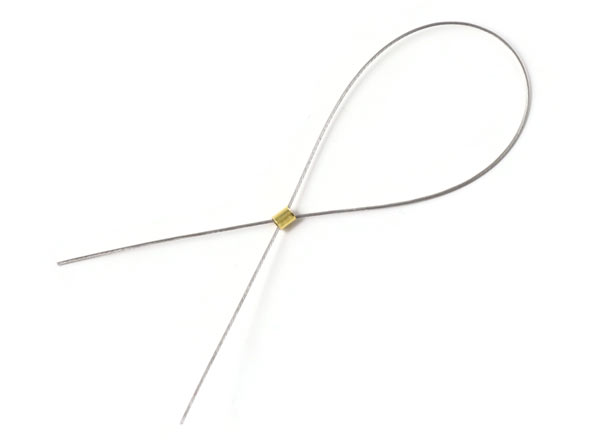
Cut a piece of wire to size. String the crimp bead ... and pull the the wire back through the crimp bead forming a loop. Ajust the size of the loop and place the crimp bead where you want it to be.
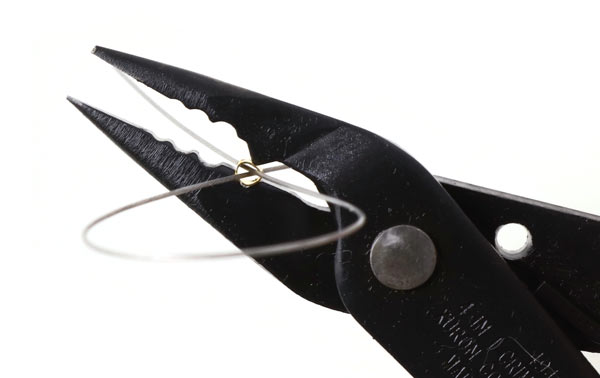
Place the crimp bead into the inner indentation of the crimpling pliers. Press in order to curve the crimp bead.
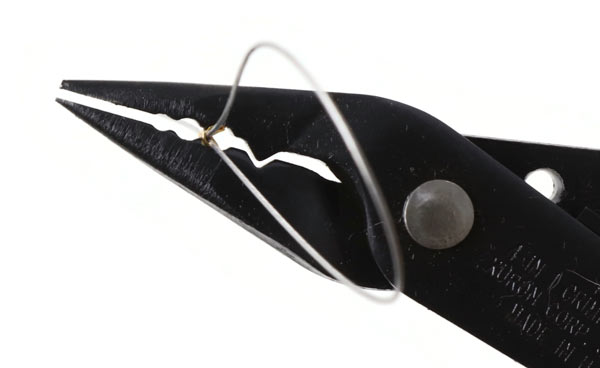
Move the crimp bead to the next indentation and press one more time to flatten the bead.
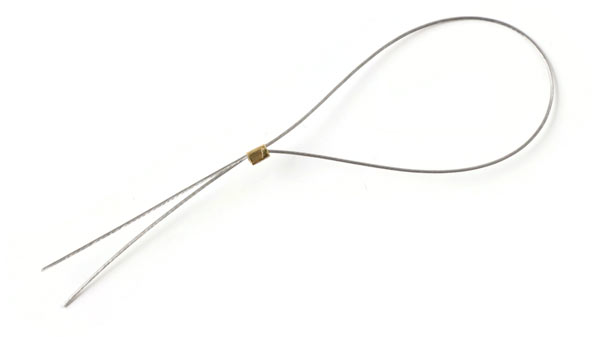
Now the crimp bead ist fastened.
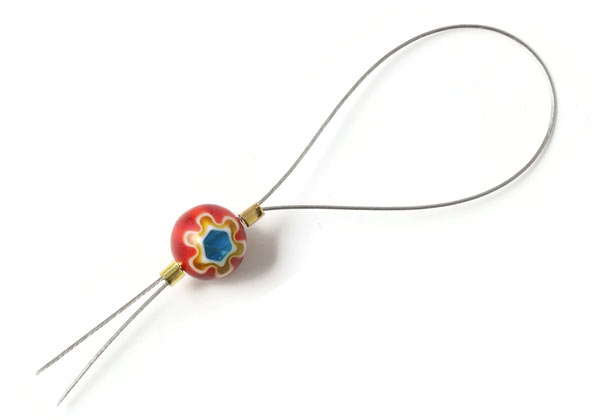
String the millefiori bead ... and another crimp bead.
Then you curve and flatten the crimp bead like the first one.
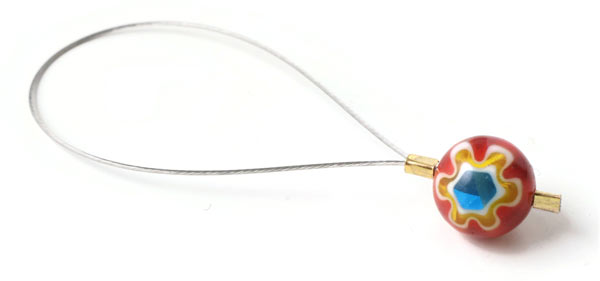
Finally, you cut off the excess wire.
Stitch Markers with Wire and Freshwater Pearls

We used the following DIY components to make these stitch markers:
- freshwater pearls, various sizes
- beading wire, Tigertail, 0.38mm
- crimp beads, 2x2mm, gold-plated brass
+ crimping pliers (Alternatively, you can use chain-nose pliers. In this case, you only press the crimp bead one time to flatten it.).
These stitch markers are made in the same way as the ones with millefiori beads (see the 1. example).
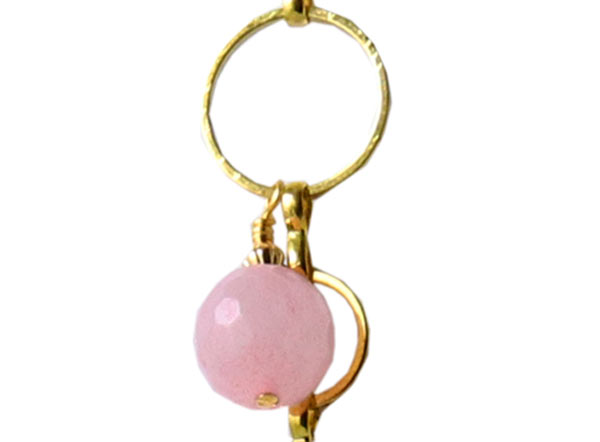
Stitch Markers with Ring and Jade Beads
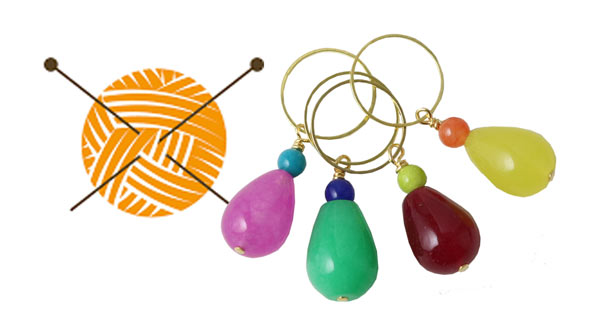
We used the following DIY components to make these stitch markers:
- closed rings, 14mm, gold-plated brass (or other sizes)
- headpin with 2mm pad, gold-plated brass
- jade teardrops
- jade beads, 4mm
+ 4-piece jewellery pliers set
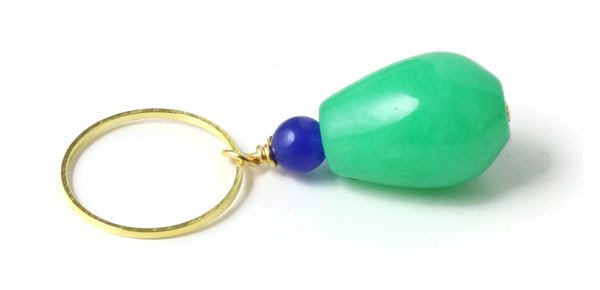
String a teardrop and a bead onto a headpin and form a loop. Insert the ring into the loop and make the windings. Cut off the excess wire.
See our Smyks guide on How to make a loop over a pearl or bead.
Stitch Markers with Cord and Porcelain Beads
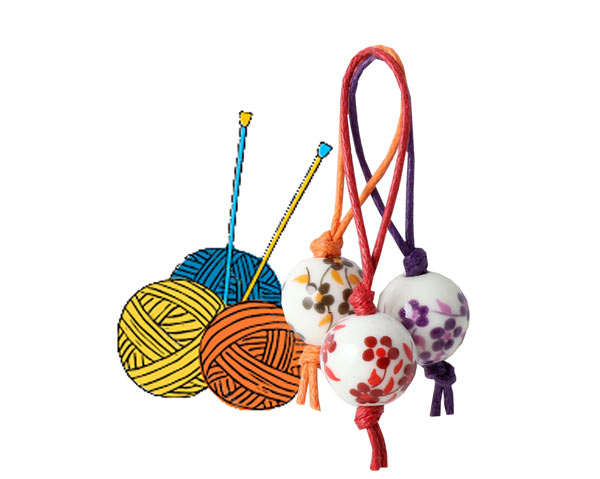
We used the following DIY components to make these stitch markers:
- waxed cotton cord, 1.2mm
- porcelain beads, 12mm, with red flowers
- porcelain beads, 12mm, with purple flowers
- porcelain beads, 12mm, with brown flowers
+ jewellery glue (optional)
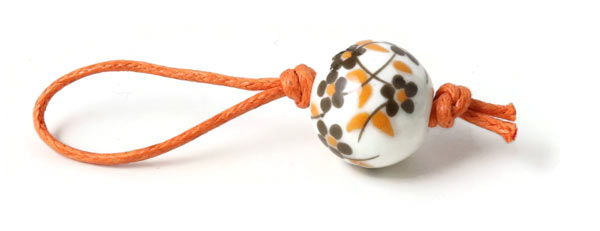
Fold the waxed cord in the middle ... and tie a knot a bit further down. Pull both cord ends through the bead. Push the bead all the way up to the knot and tie another knot right beneath the bead. Cut off the excess cord. You can apply a bit of jewellery glue on the knot.
Stitch Markers with Leather Cord and Porcelain Beads

We used the following DIY components to make these stitch markers:
+ jewellery glue (optional)
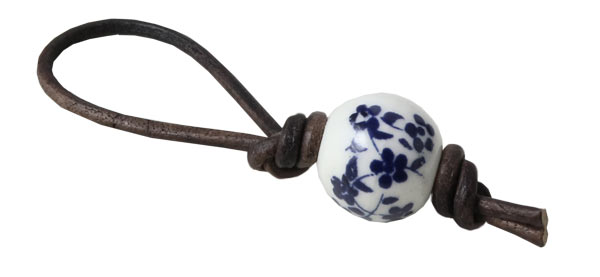
Fold the leather cord in the middle ... and tie a knot a bit further down. Pull both cord ends through the bead. Push the bead all the way up to the knot and tie another knot right beneath the bead. Cut off the excess cord. You can apply a bit of jewellery glue on the knot.
Chain Row Counter with Jade Beads
We used the following DIY components to make this chain row counter:
- chain with large and small links, gold-plated brass
- 3 jade beads, 10mm, faceted
- 3 headpins with 1.5mm pad, gold-plated sterling silver
- 3 fluted bicone beads, 3mm, gold-plated brass
+ 4-piece jewellery pliers set
Thread a jade bead and a bicone bead on a headpin and form a loop. Insert one of the rings into the loop, make windings and cut off the excess wire.
Then you repeat this procedure twice with the remaining beads.
See our Smyks guide on How to make a loop over a pearl or bead.
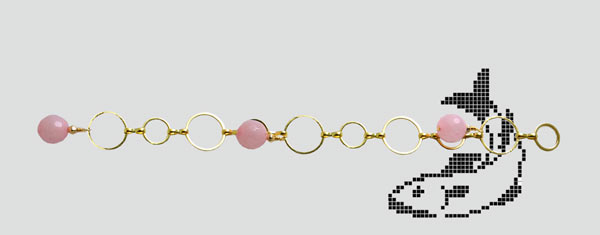
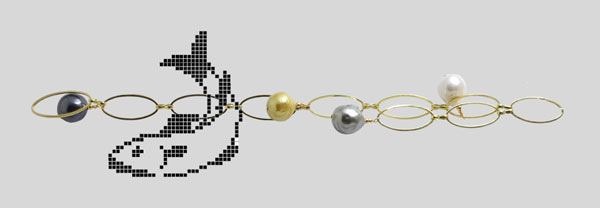
Chain Row Counter with Freshwater Pearls
We used the following DIY components to make this chain row counter:
- 1 piece of chain with 10 oval rings (this chain is sold out but can be replaced with Chain, with round and square links)
- 4 freshwater pearls
- 4 headpins with 2mm pad, gold-plated brass
+ 4-piece jewellery pliers set
String a freshwater pearl onto a headpin and form a loop. Insert one of the rings into the loop, make the windings and cut off the excess wire.
Then you repeat this procedure three times with the remaining pearls.
See our Smyks guide on How to make a loop over a pearl or bead.
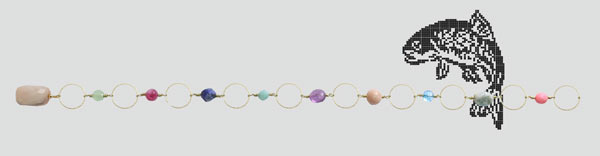
Chain Row Counter with Gemstone Beads
We used the following DIY components to make this chain row counter:
- 10 closed rings, 14mm, gold-plated brass (or other sizes)
- 1 headpin with 2mm pad, gold-plated brass
- wire, 0.4mm, gold-plated copper
- 10 gemstone beads to your choice
+ 4-piece jewellery pliers set
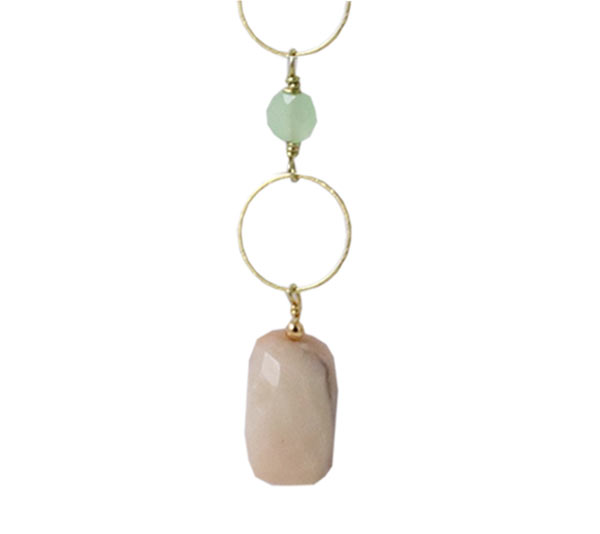
First, you attach a gemstone bead to the end of the chain with the help of a headpin. String the bead onto the headpin, form a loop, insert a ring into the loop and make the windings. Then you cut off the excess wire.
The other rings are interlinked with the help of gemstone beads with loops and windings. For our example, we used 10 rings which correspond to 10 knitted rows.
See our Smyks guide on: How to make a loop over a pearl or bead.
See our blog post on: Earrings with Gemstone Bead Links
Have fun making your own stitch markers and row counters for knitting :-)
Response
We will publicly show your name and comment on this website. Your email is to ensure that the author of this post can get back to you. We promise to keep your data safe and secure.